Hi friends,
Children’s birthday parties are always fun. It is amazing to see things through children’s eyes and how much fun they have at parties, it is continuous playing, laughs, and enjoyment. It is nice to see how much effort the parents put into organizing these celebrations for their children. For the child and his parents, there is excitement leading to the party and lots of details to take care of, items to be purchased, decorations, cakes, food, drinks, prizes, and lots more. Finally, the birthday party date arrives and on the day of the party, you see the joy in the child’s face & the fun all the children have….and the other parents and guests as well. The joy in your child’s face makes all the work you put into the party , and the stress, as well as exhaustion, worth it!
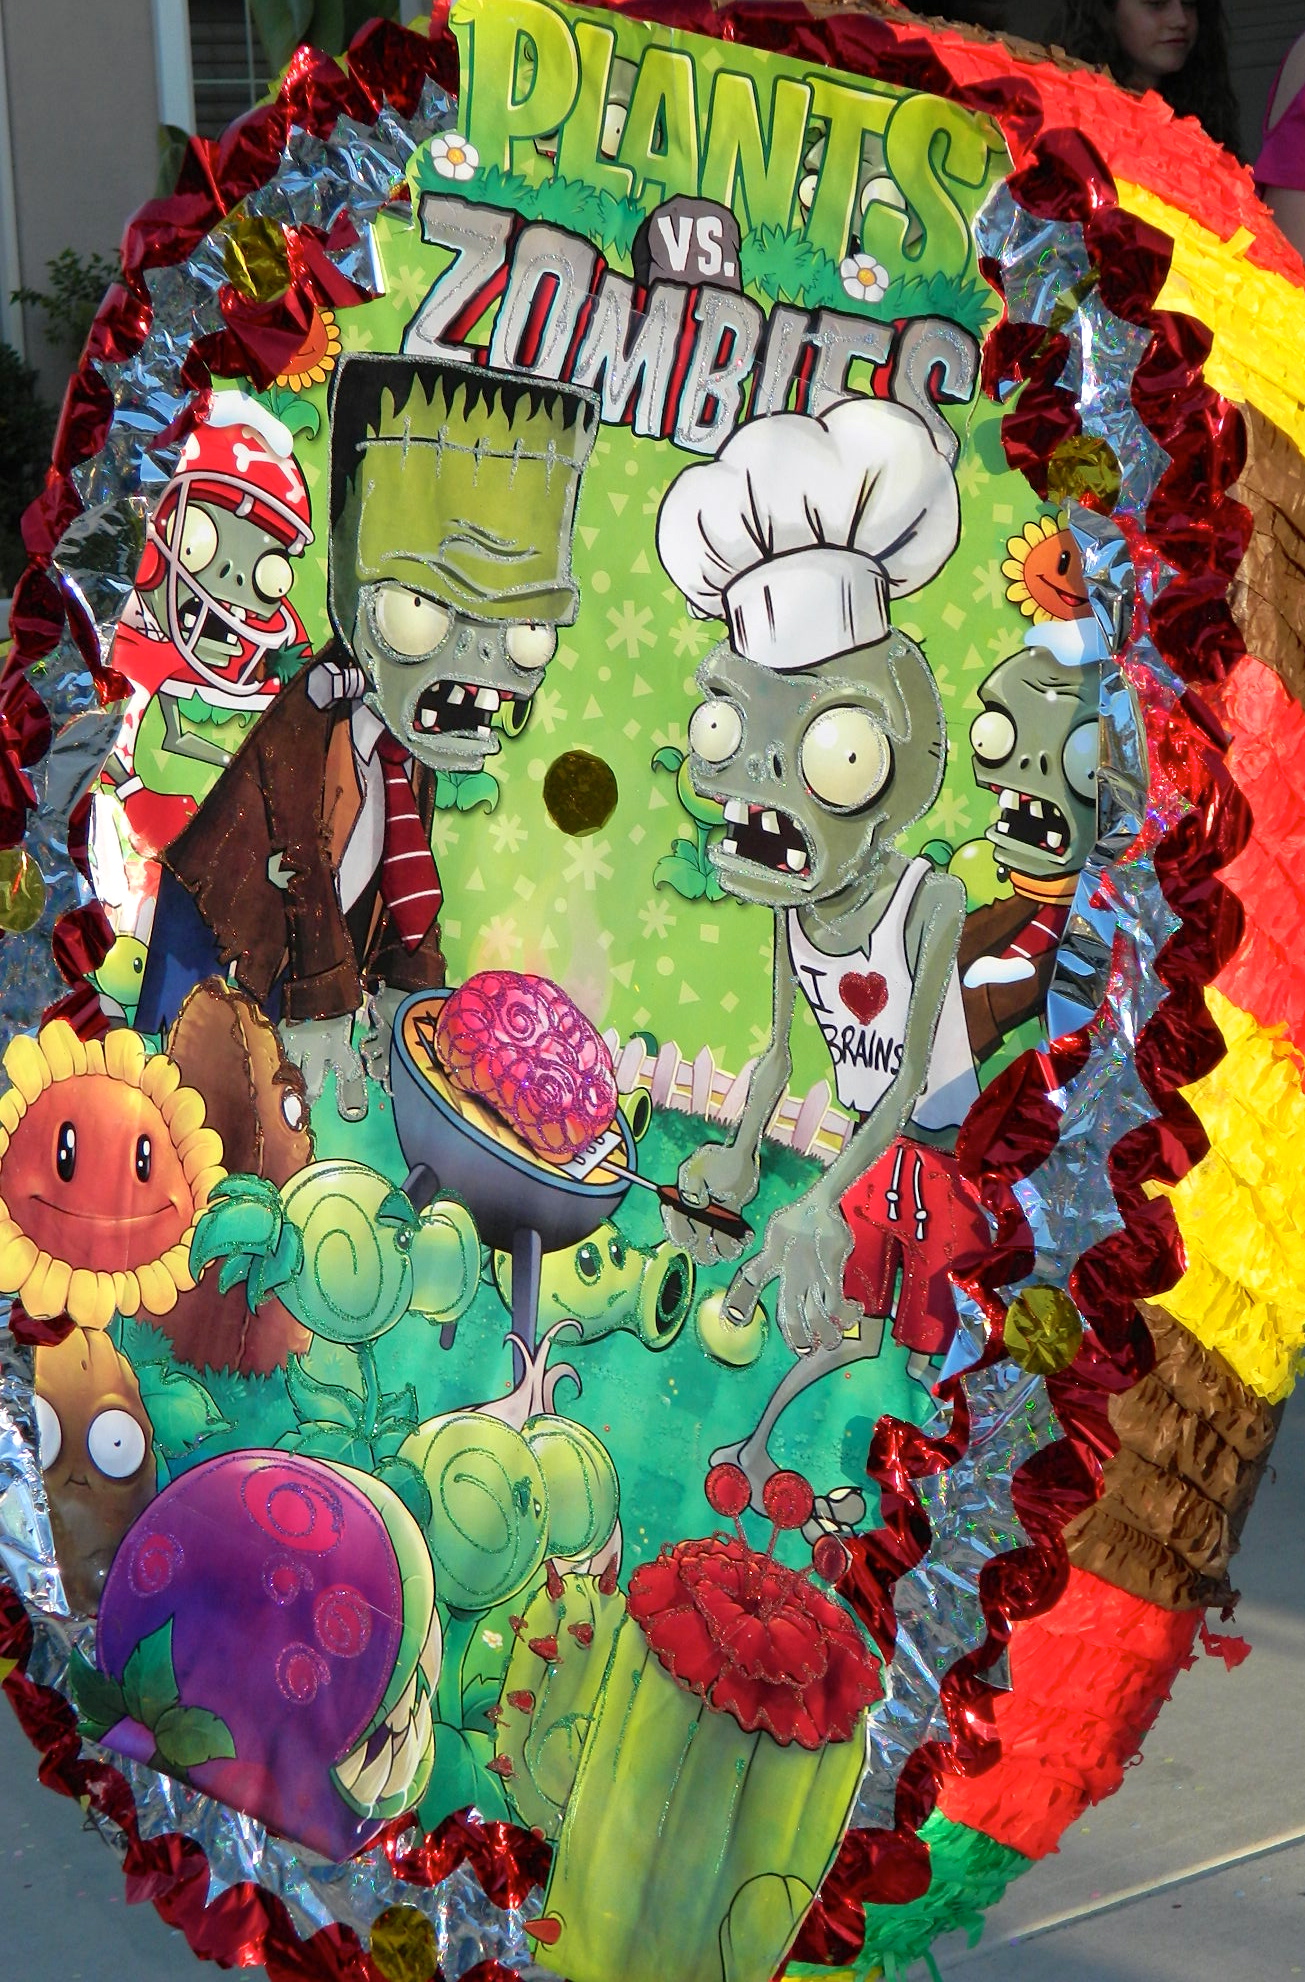
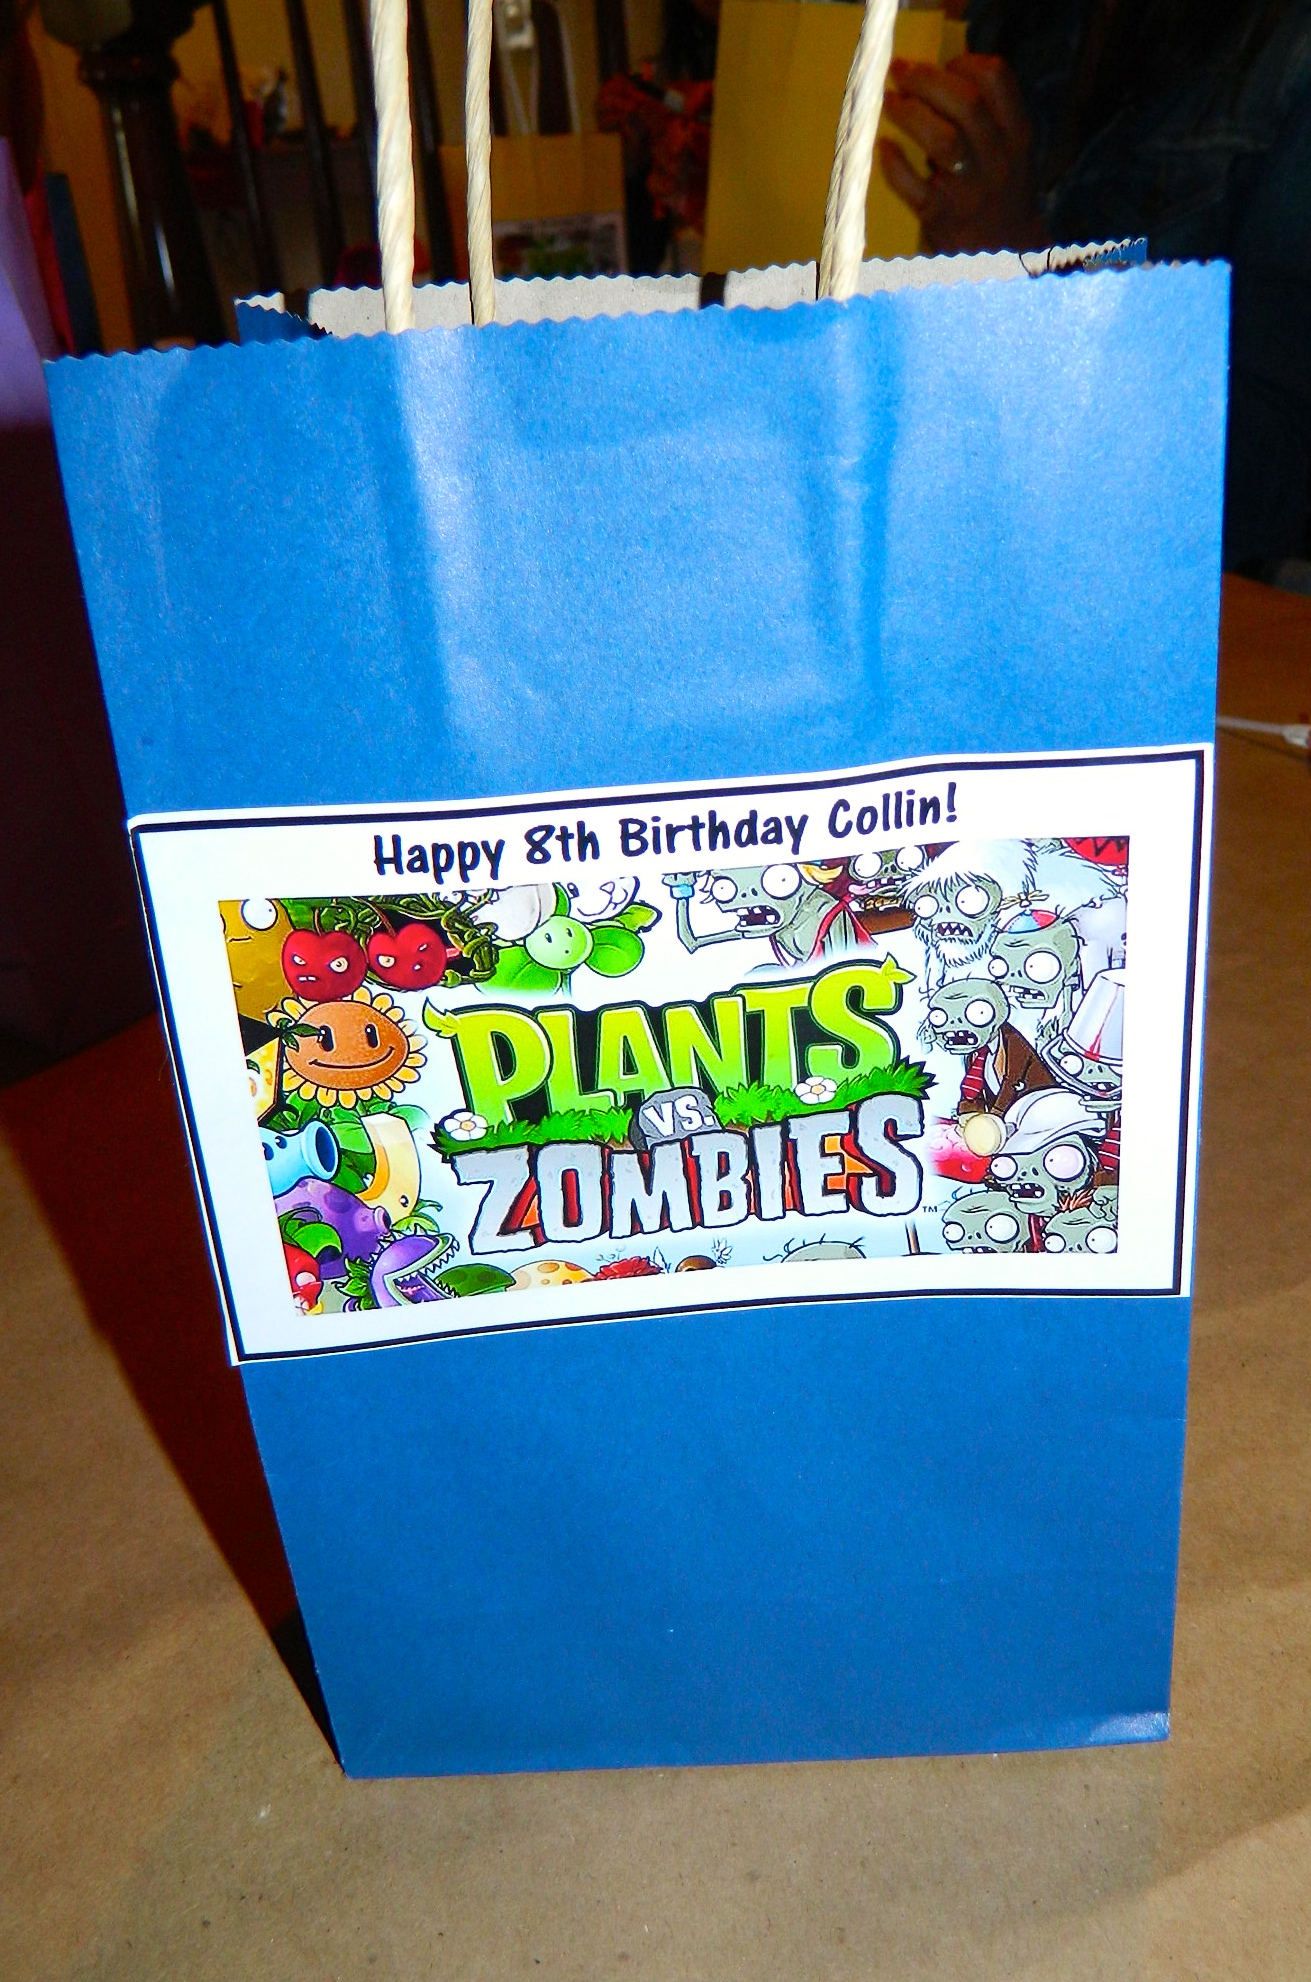
Even though my hubby and I are not parents yet, we go to lots of children’s birthday parties, aka piñatas for hispanic families. In addition to my nieces and nephews birthday parties, we go to our friends children’s parties. I also accompany my sister to a few parties each year and recently went to birthday party with a Plants vs. Zombies theme (in case you are wondering, just like I was, it is a popular video game).
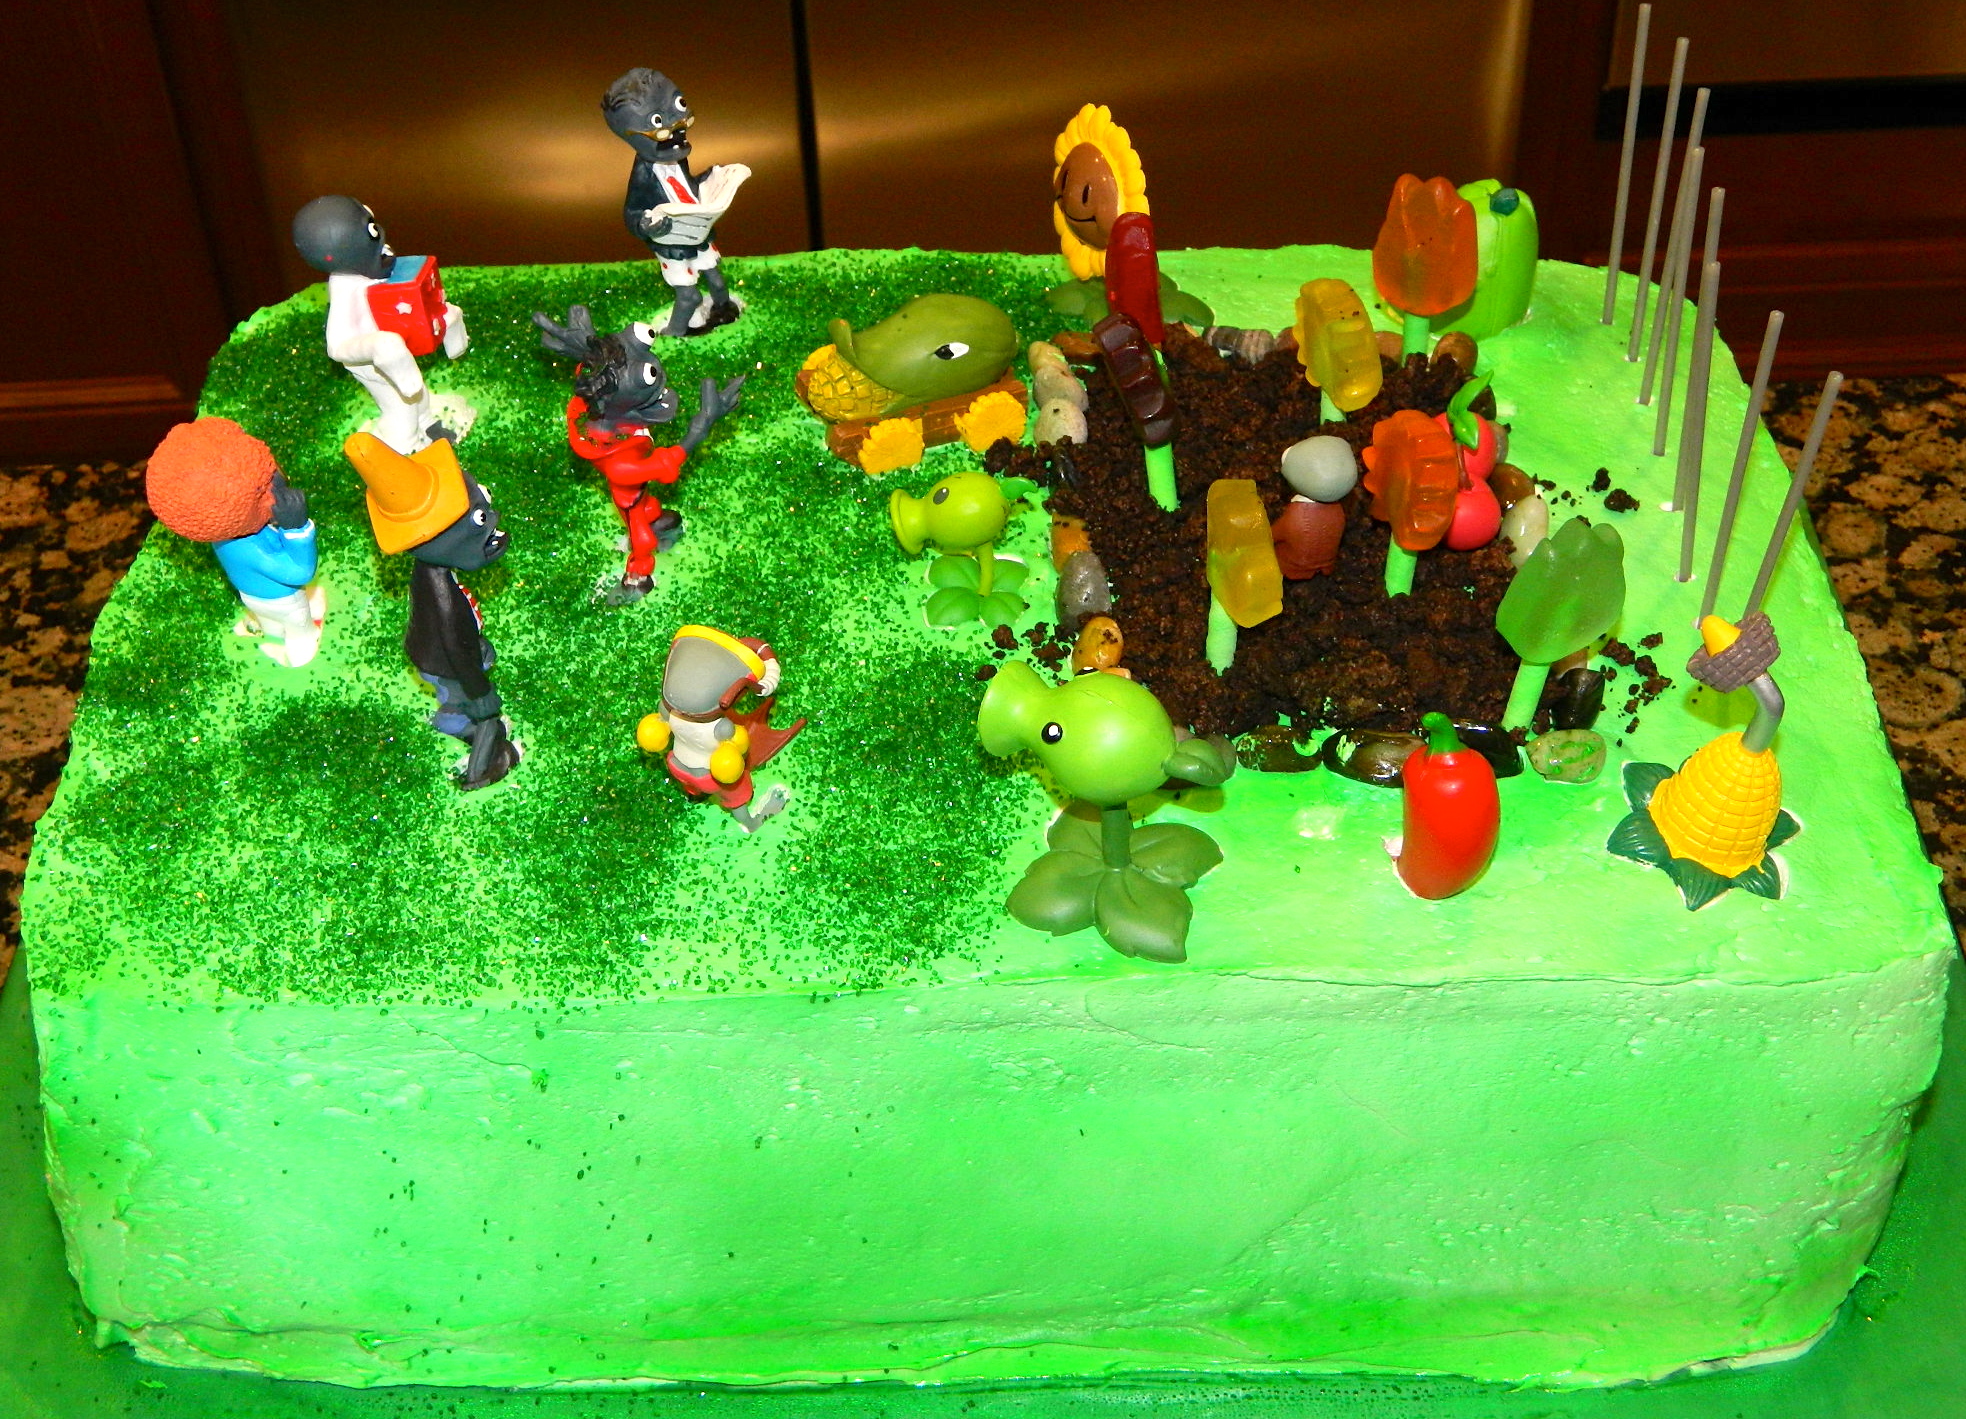
When we arrived, the host was finishing the decorations on the birthday cake. She baked the cake from scratch and decorated it with the Plants vs Zombies theme. Beforehand, she bought all the necessary items, including the decorations and food coloring spray. She claims she is not a good baker or cake decorator, but I disagree. This mom rocks, she is not only an amazing mom, she’s also a great cake decorator. The cake was not only beautiful, it was delicious, rich and moist! If i had not seen her decorating the cake, I would have thought it was made at a bakery.
It was so nice, that I asked her if I could post it on my blog & luckily she agreed.
What she used:
-Cake mix (marble and chocolate), items for cake: eggs, oil, water
-Hand blender
-Unflavored whipping cream
-Food color spray (in green color)
-Chocolate frosting
-Marshmallows (large white)
-Oreo cookies
-Candy gummy flowers (multiple colors)
-Lollipop sticks (to use as stems for gummy flowers)
-Candy in the form of small rocks
-Sugar sprinkles (in green color)
-Zombies vs Plants figurines
-Cake decorating icing bag (can be replaced with icing writing tubes)
-Large rectangular cardboard wrapped to use as base for cake (wrapped with green wax paper)
-Candles (of your choice she used gray candles to go with the theme)
Theme: Plants vs Zombies
Steps:
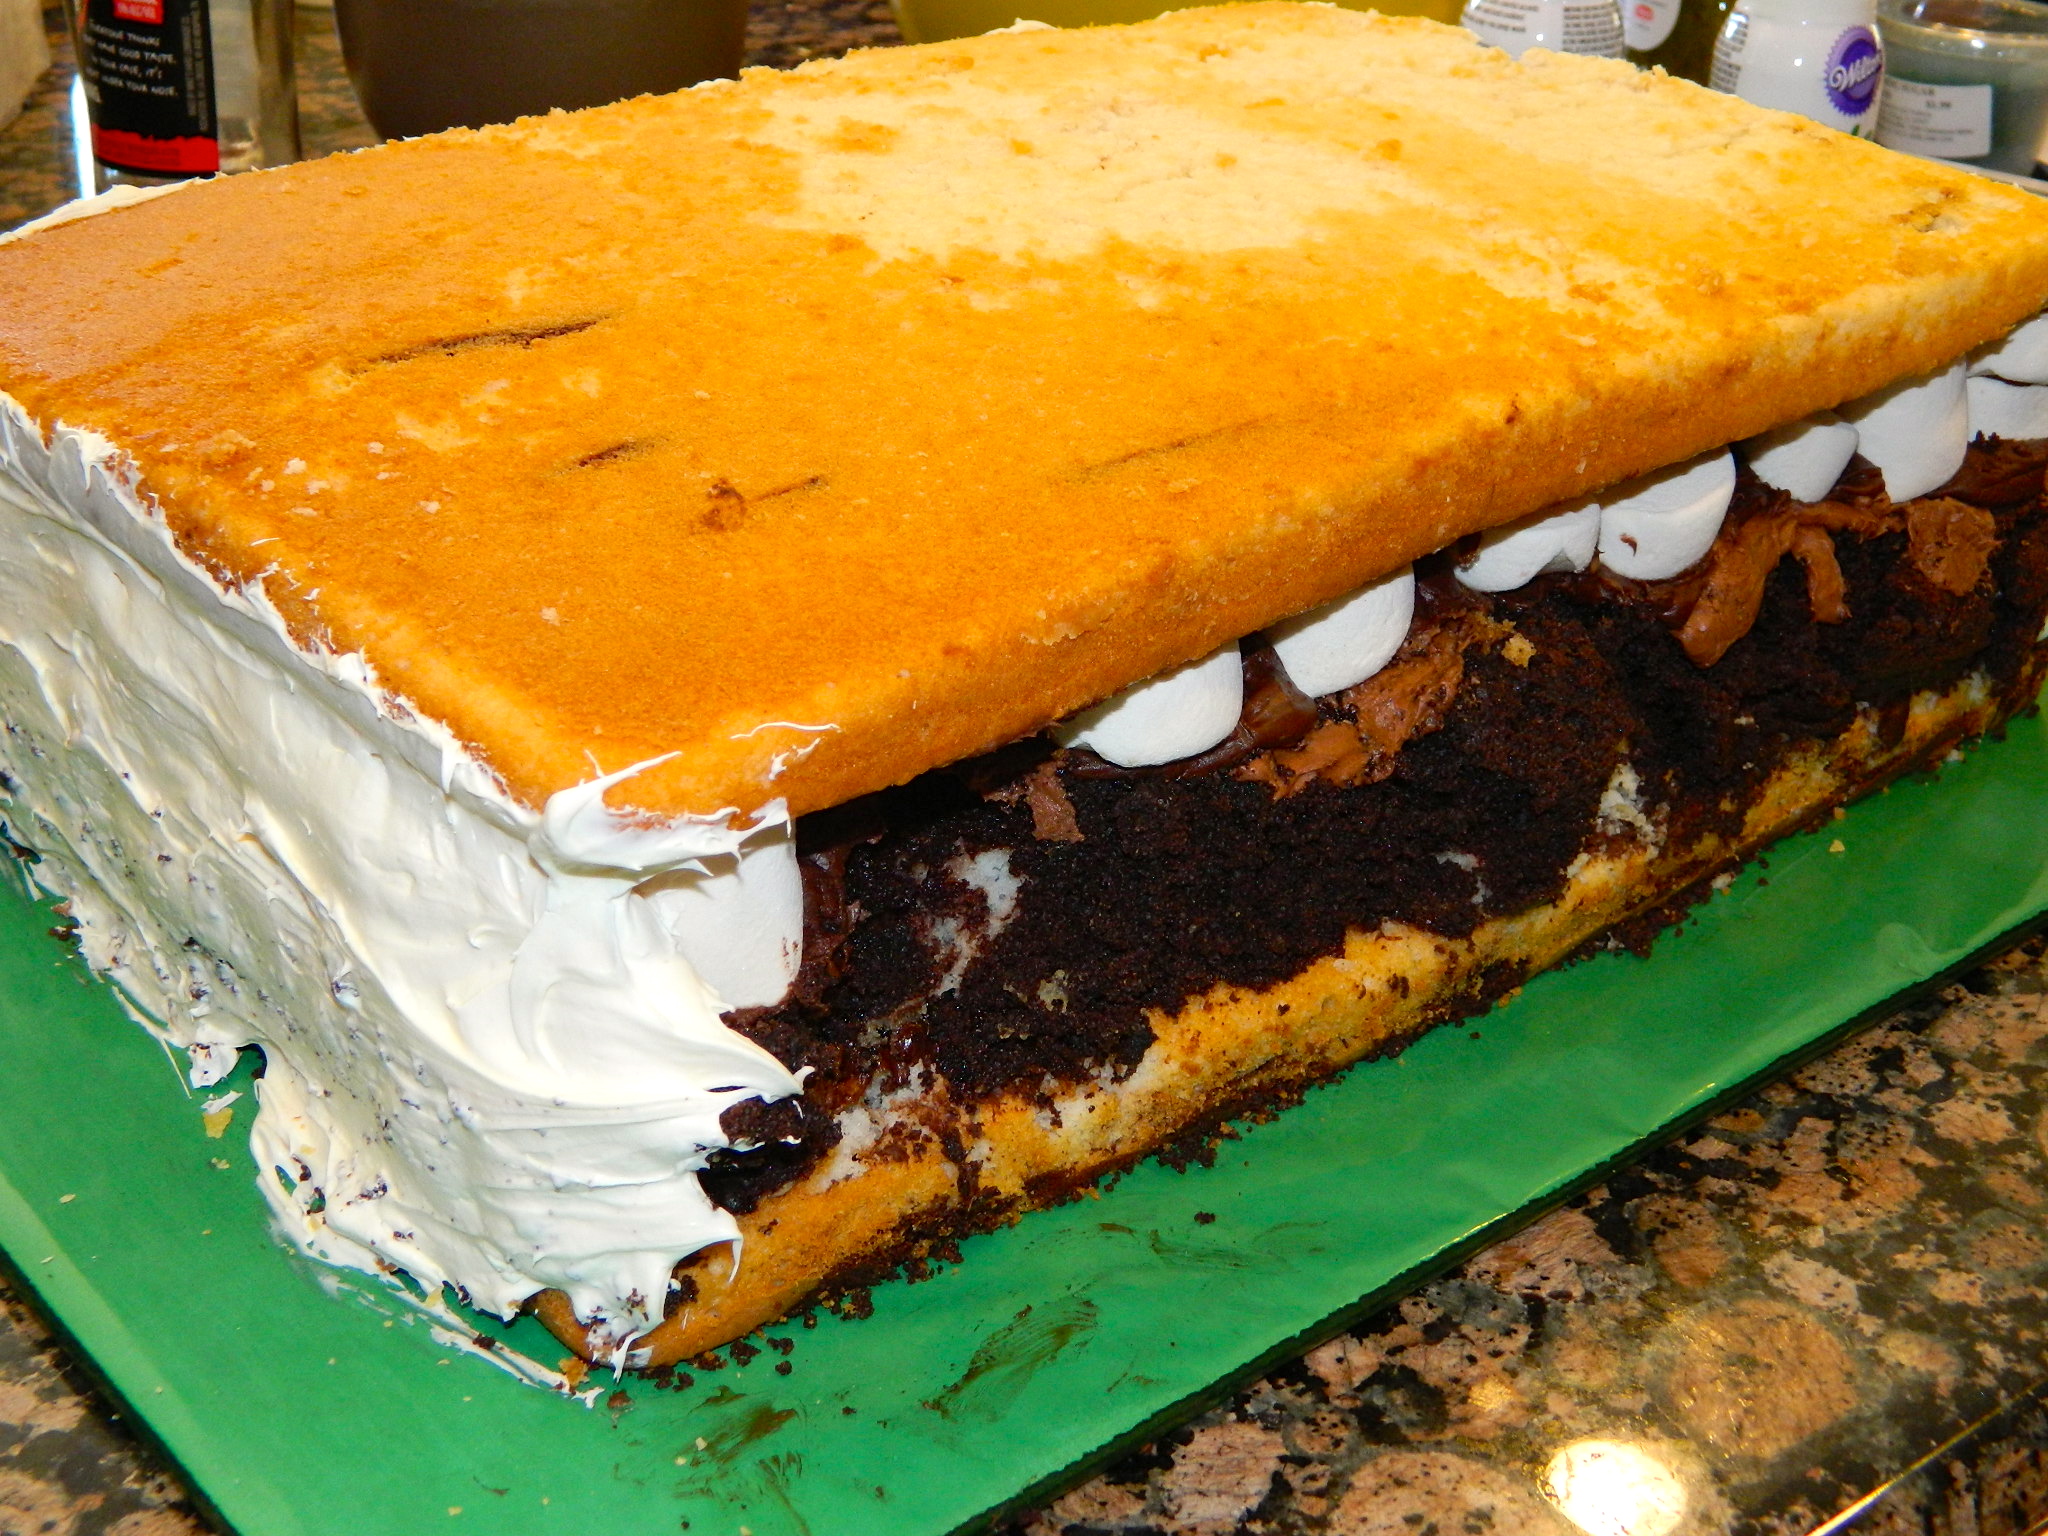
1) Prepare the cake mix and bake the cakes – one marble sheet & one chocolate sheet, allow them to cool
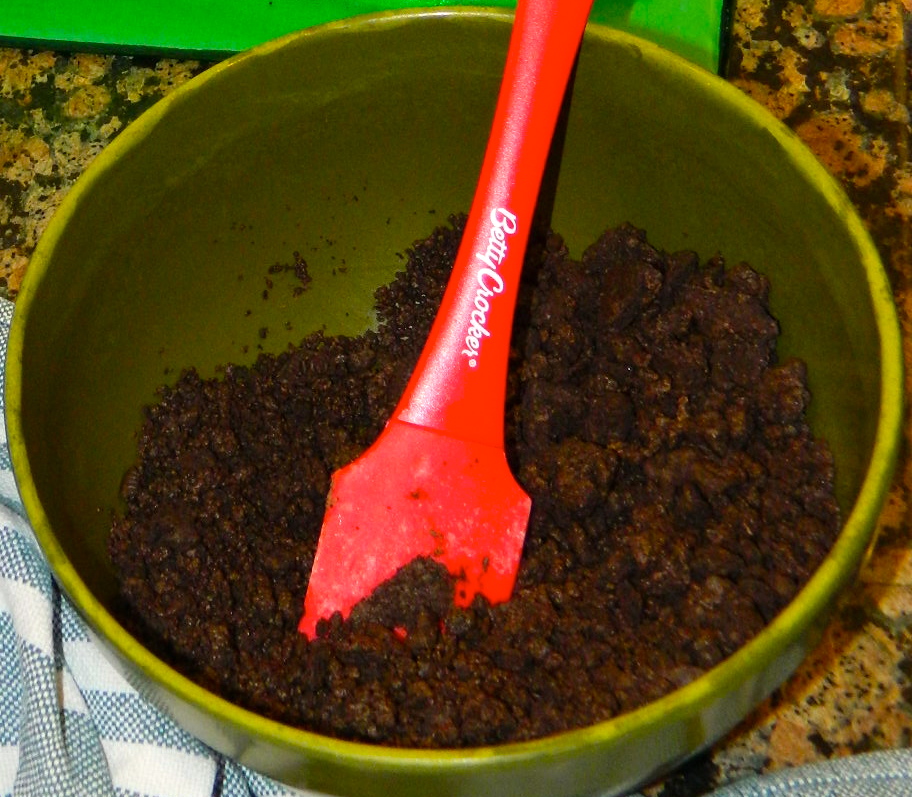
2) Mix Oreo cookies in a blender to make crumbs
3) Cut the marble cake in two layers, to make two thin layers
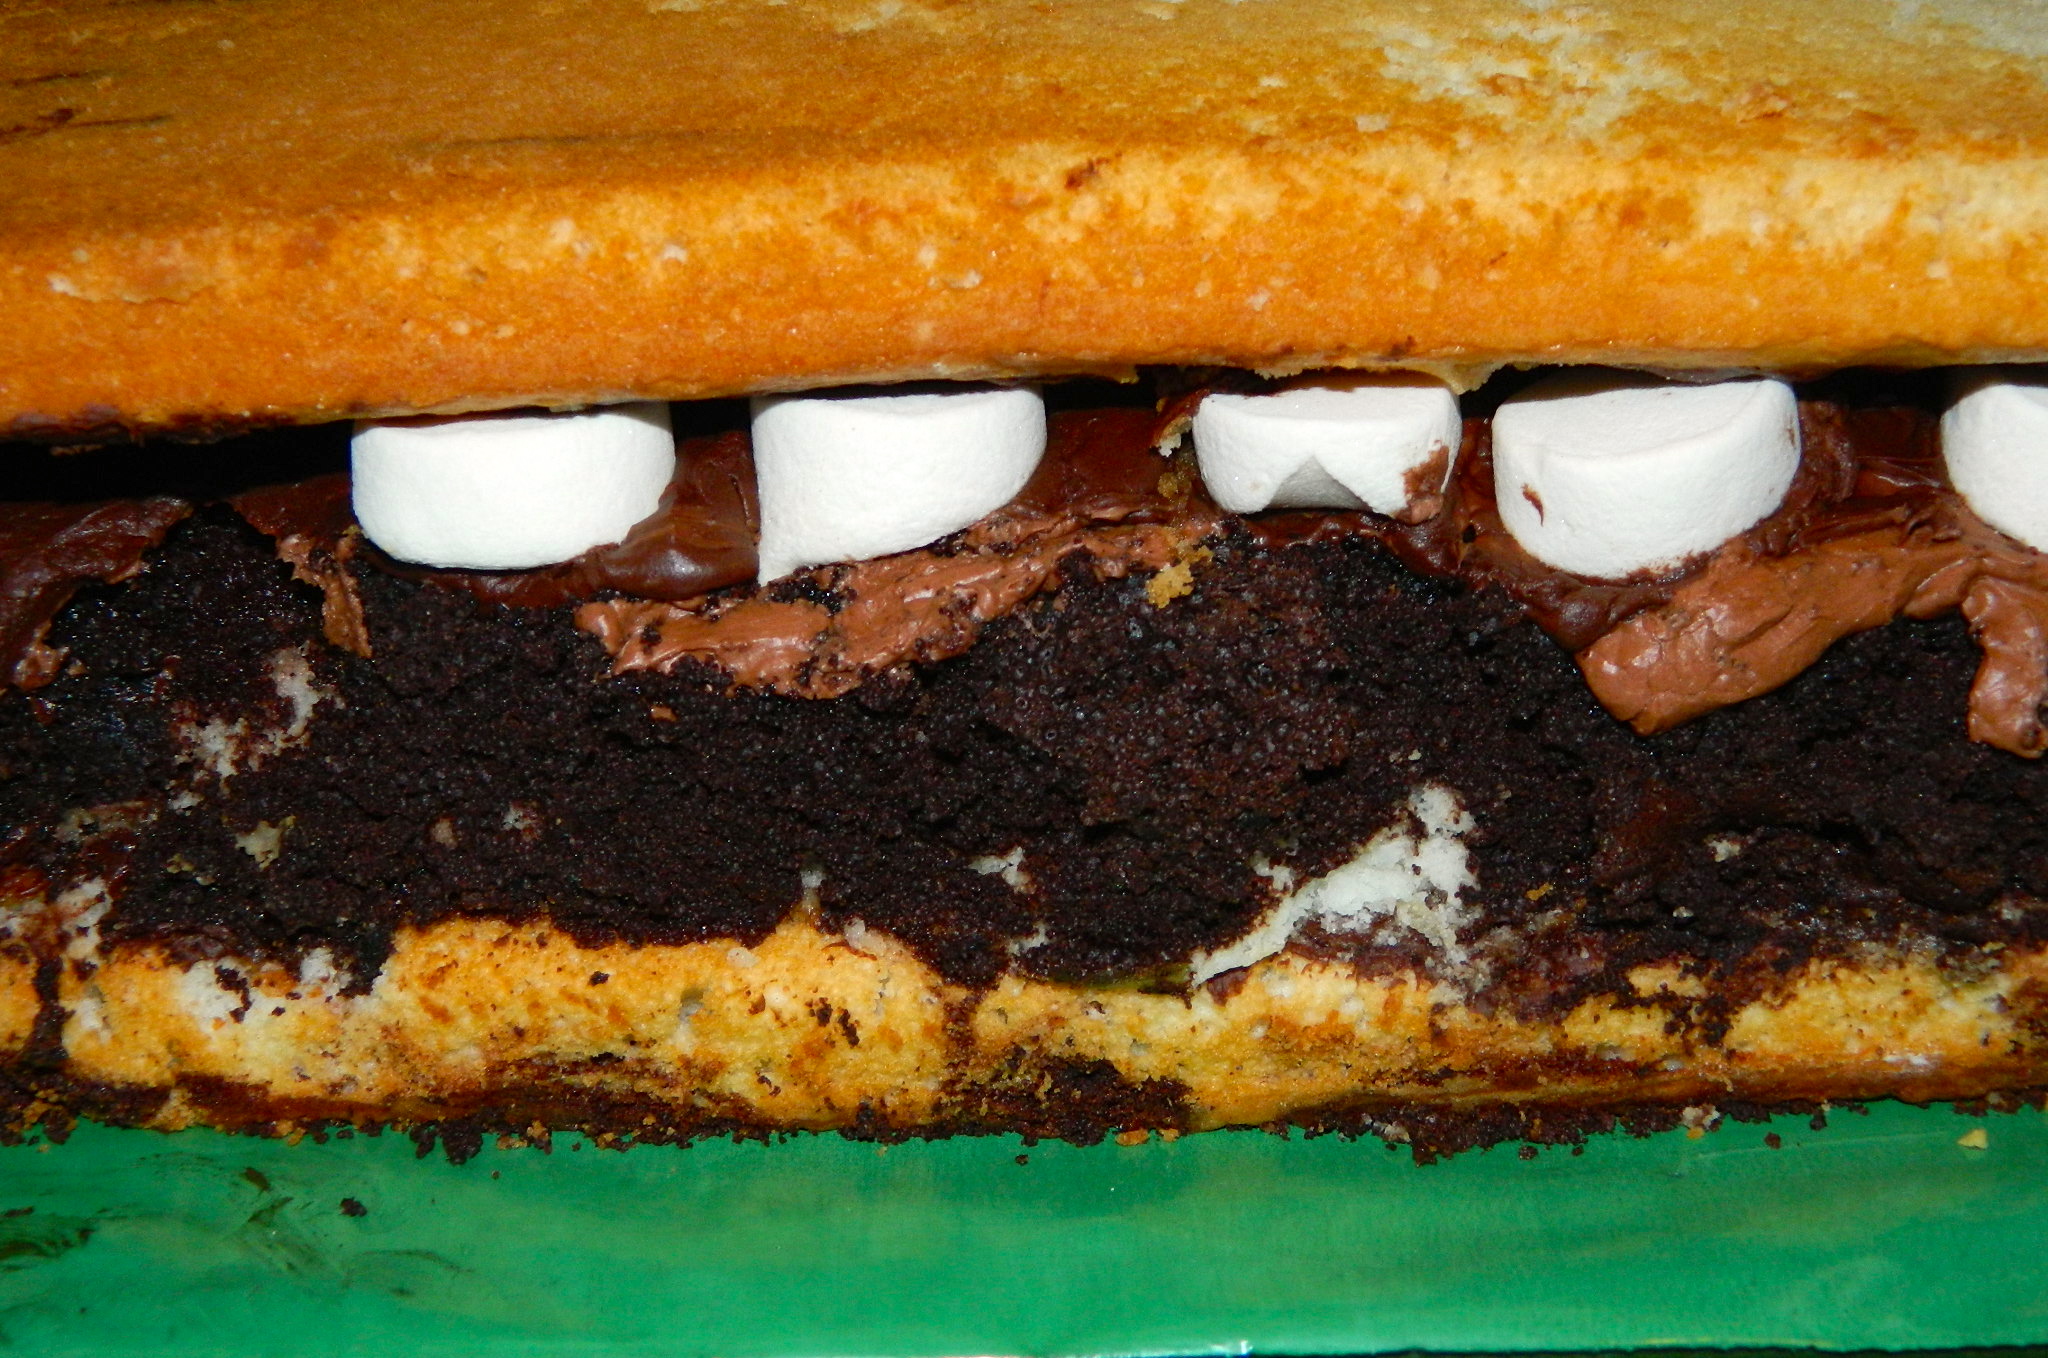
4) On the wrapped cardboard that will be the base of the cake, build the layers, starting from the bottom with the marble cake, then a layer a chocolate cake, a layer of chocolate frosting, a layer of marshmallows, lastly add the thin layer of marble cake with the smooth surface facing up
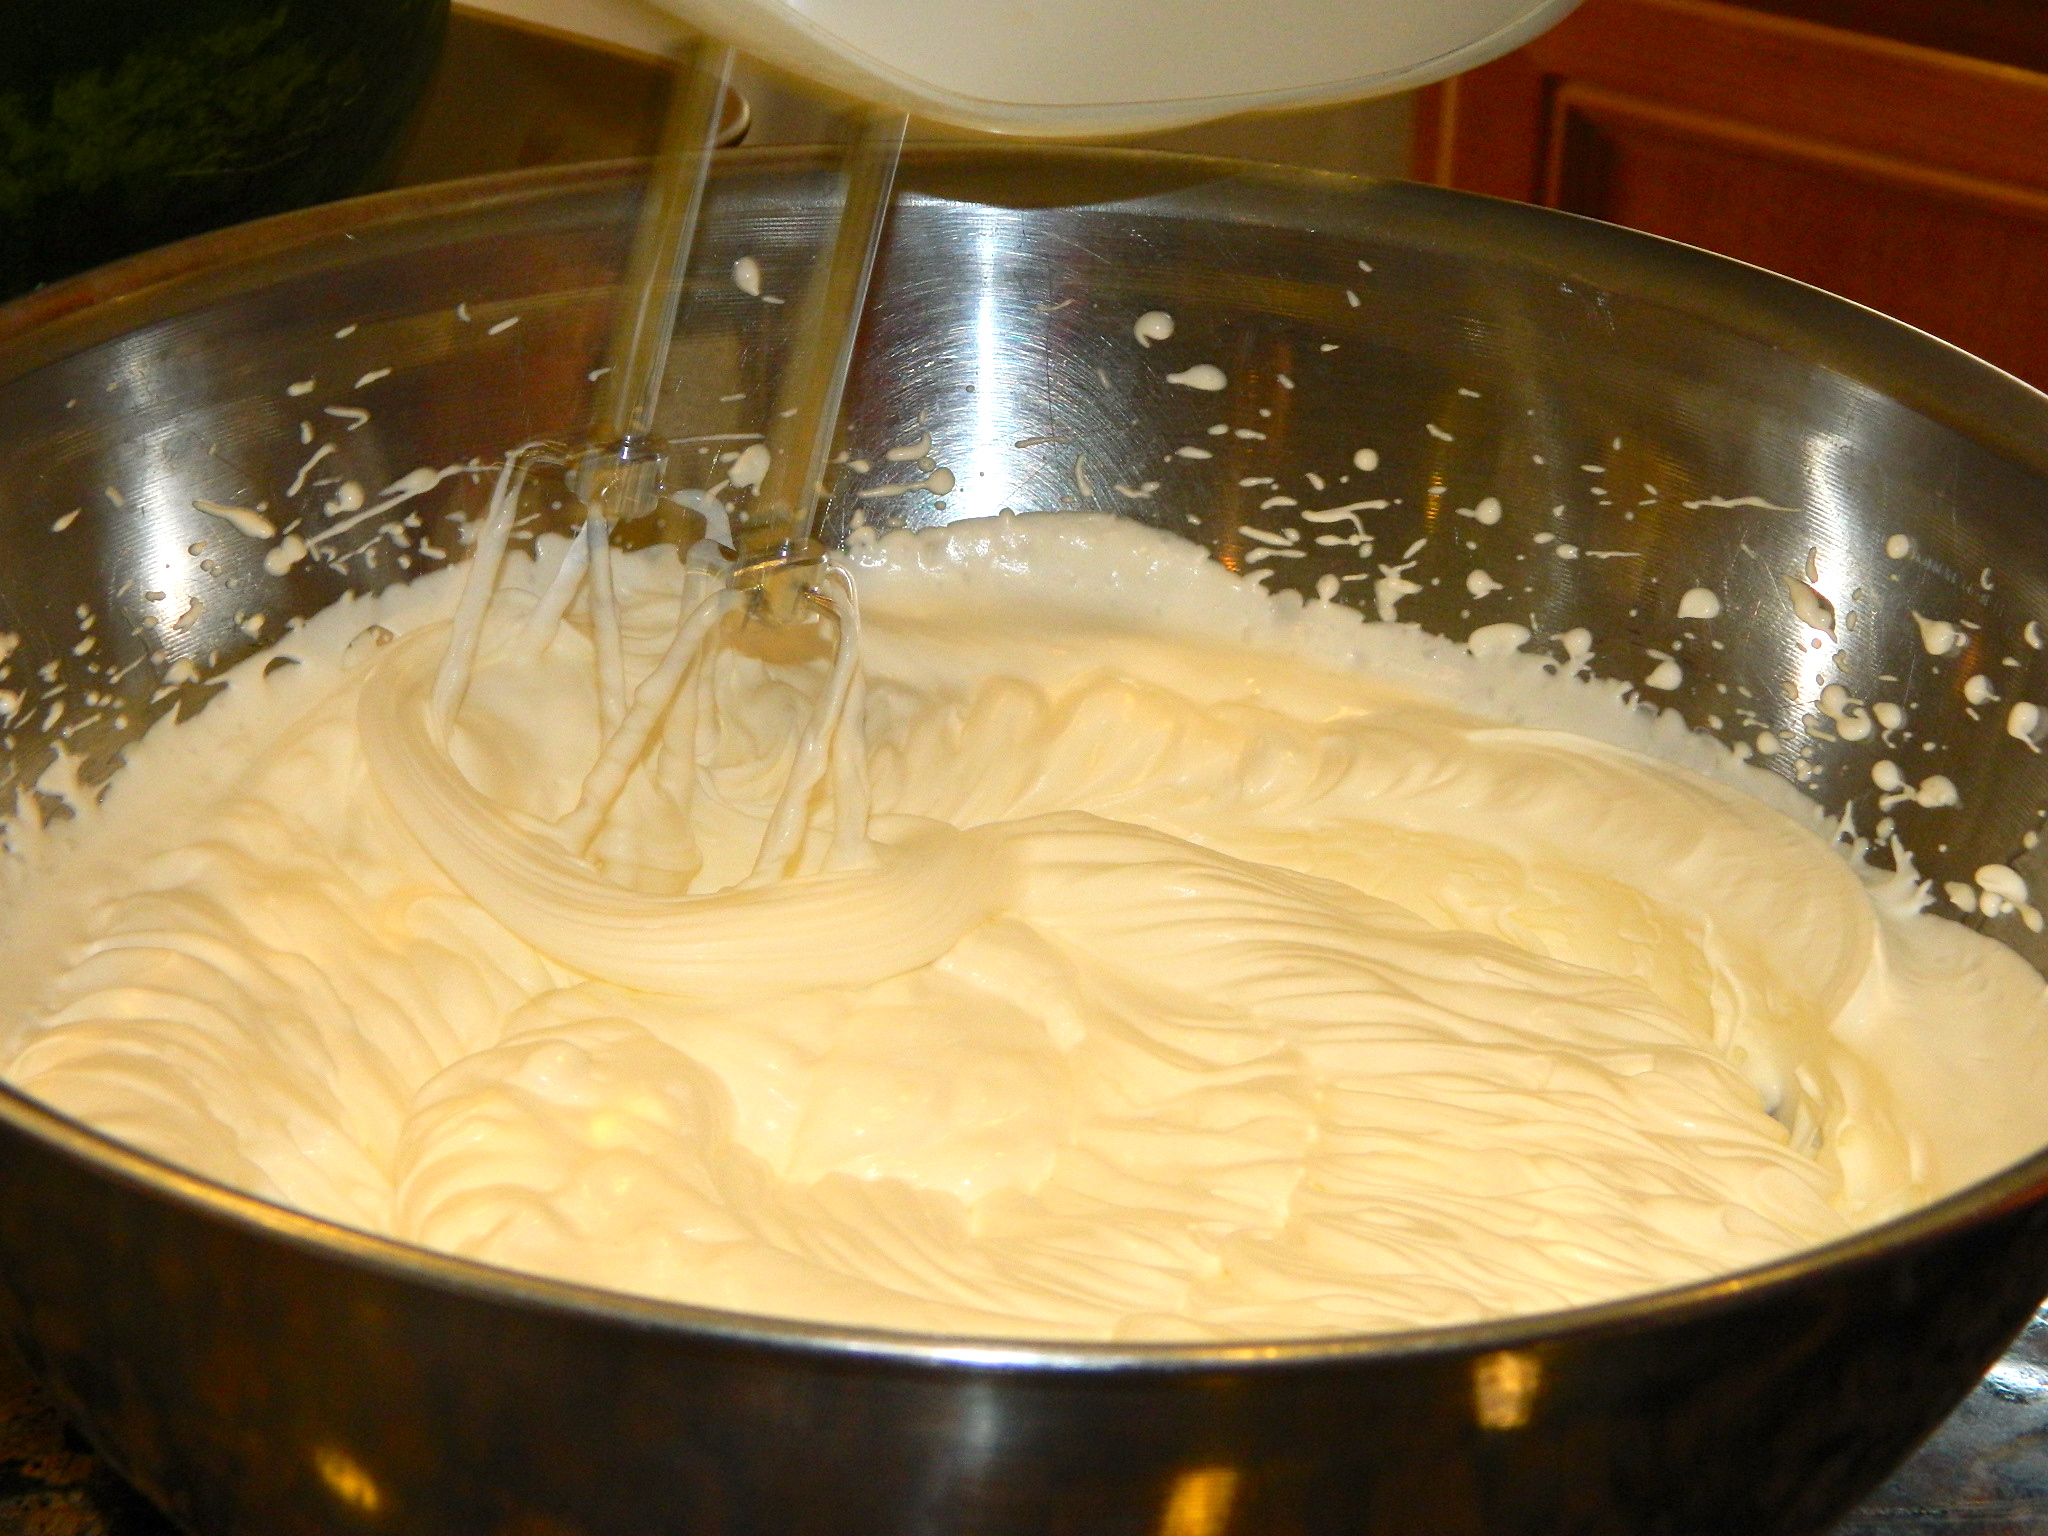
5) Use a blender to mix the whipping cream to the right consistency, separate a small bowl of whipping cream to use to write Happy Birthday on the cake
6) Decorate the entire cake with the white whipping cream
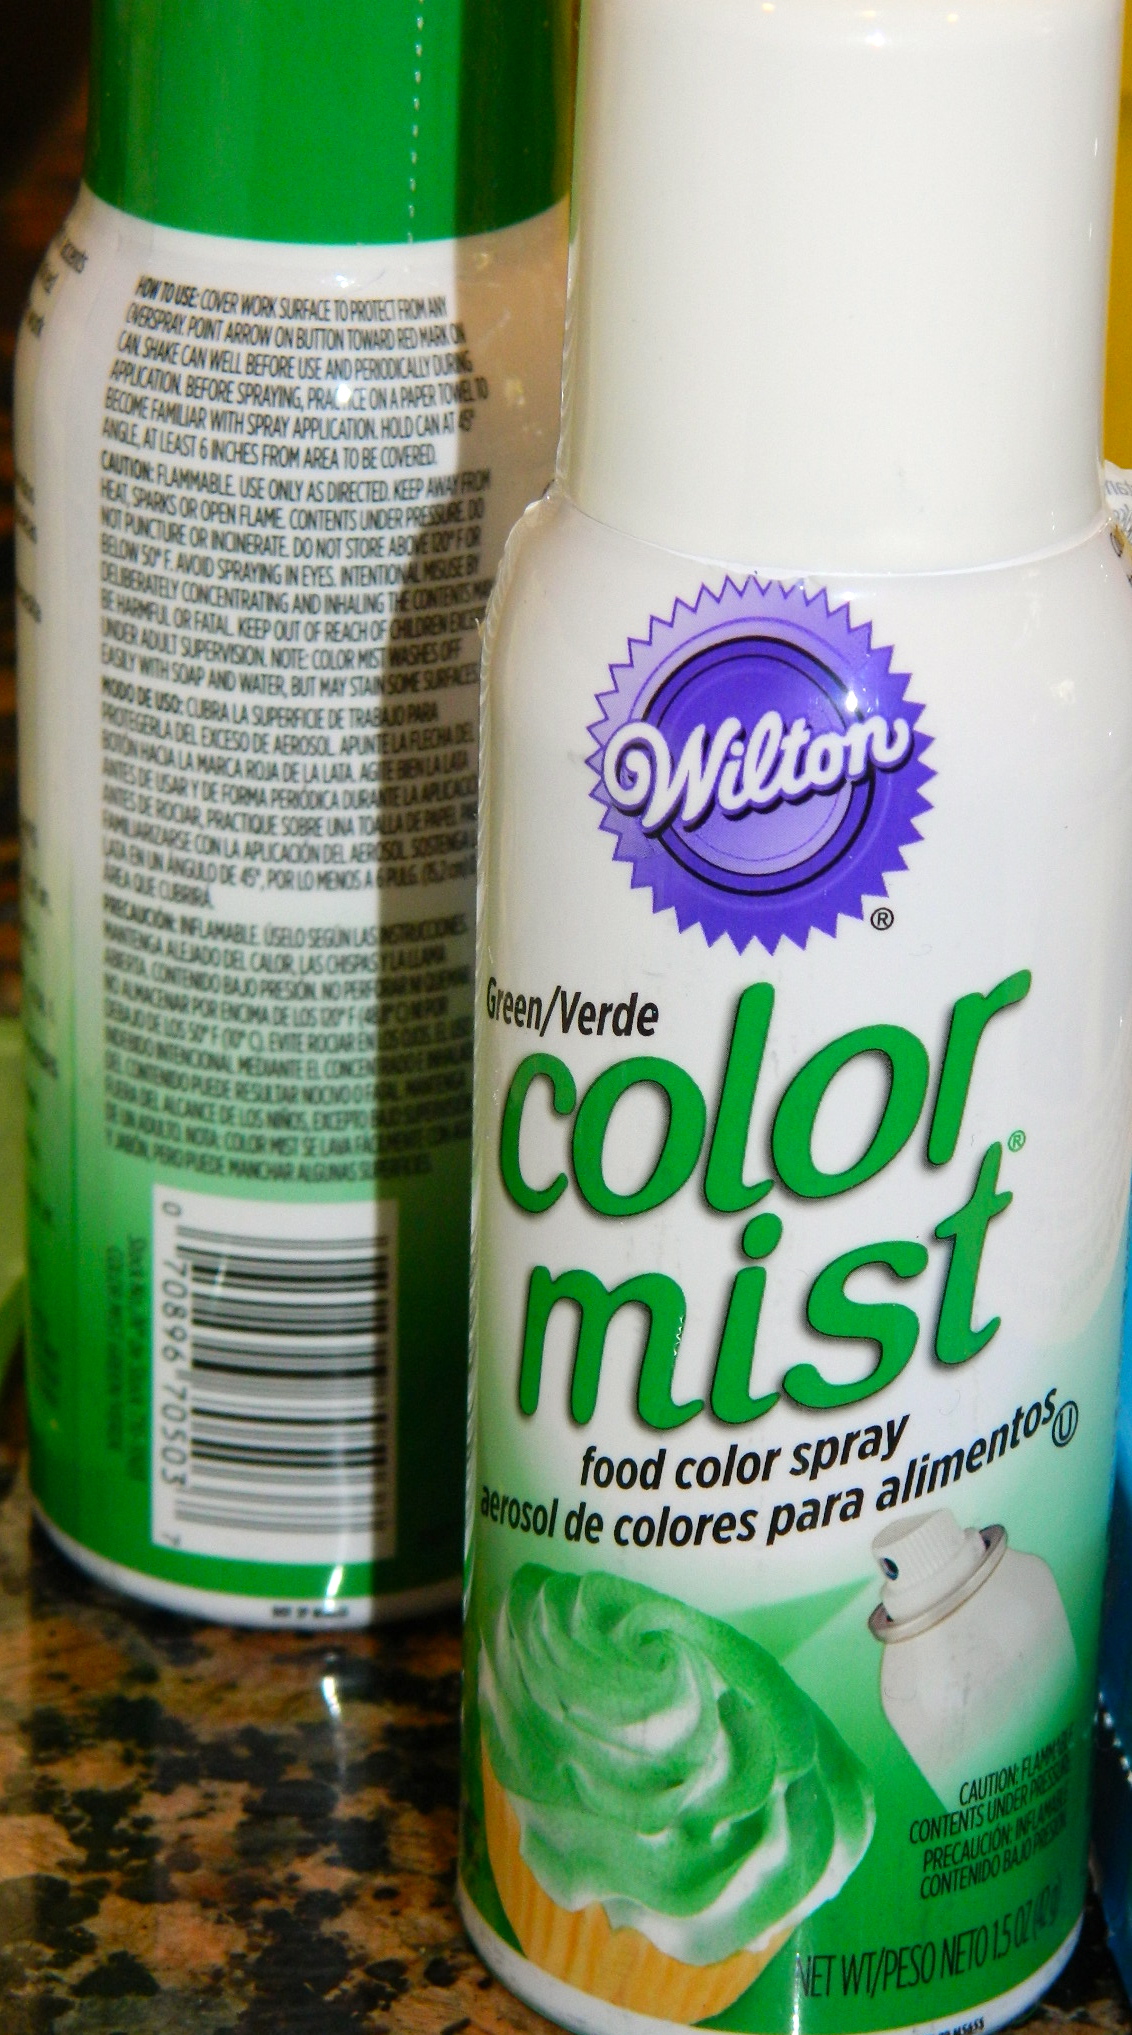
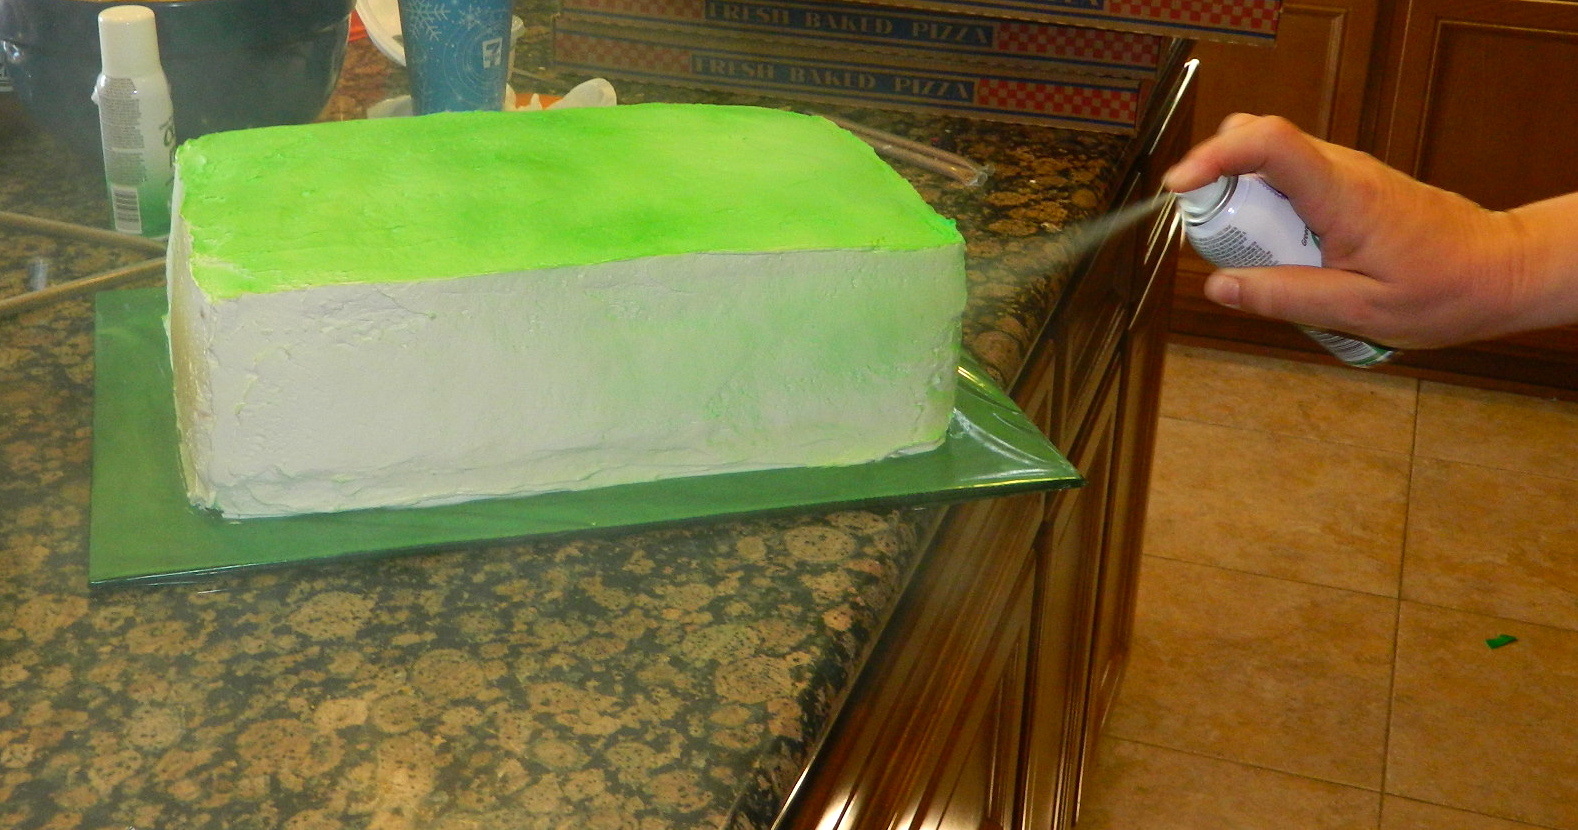
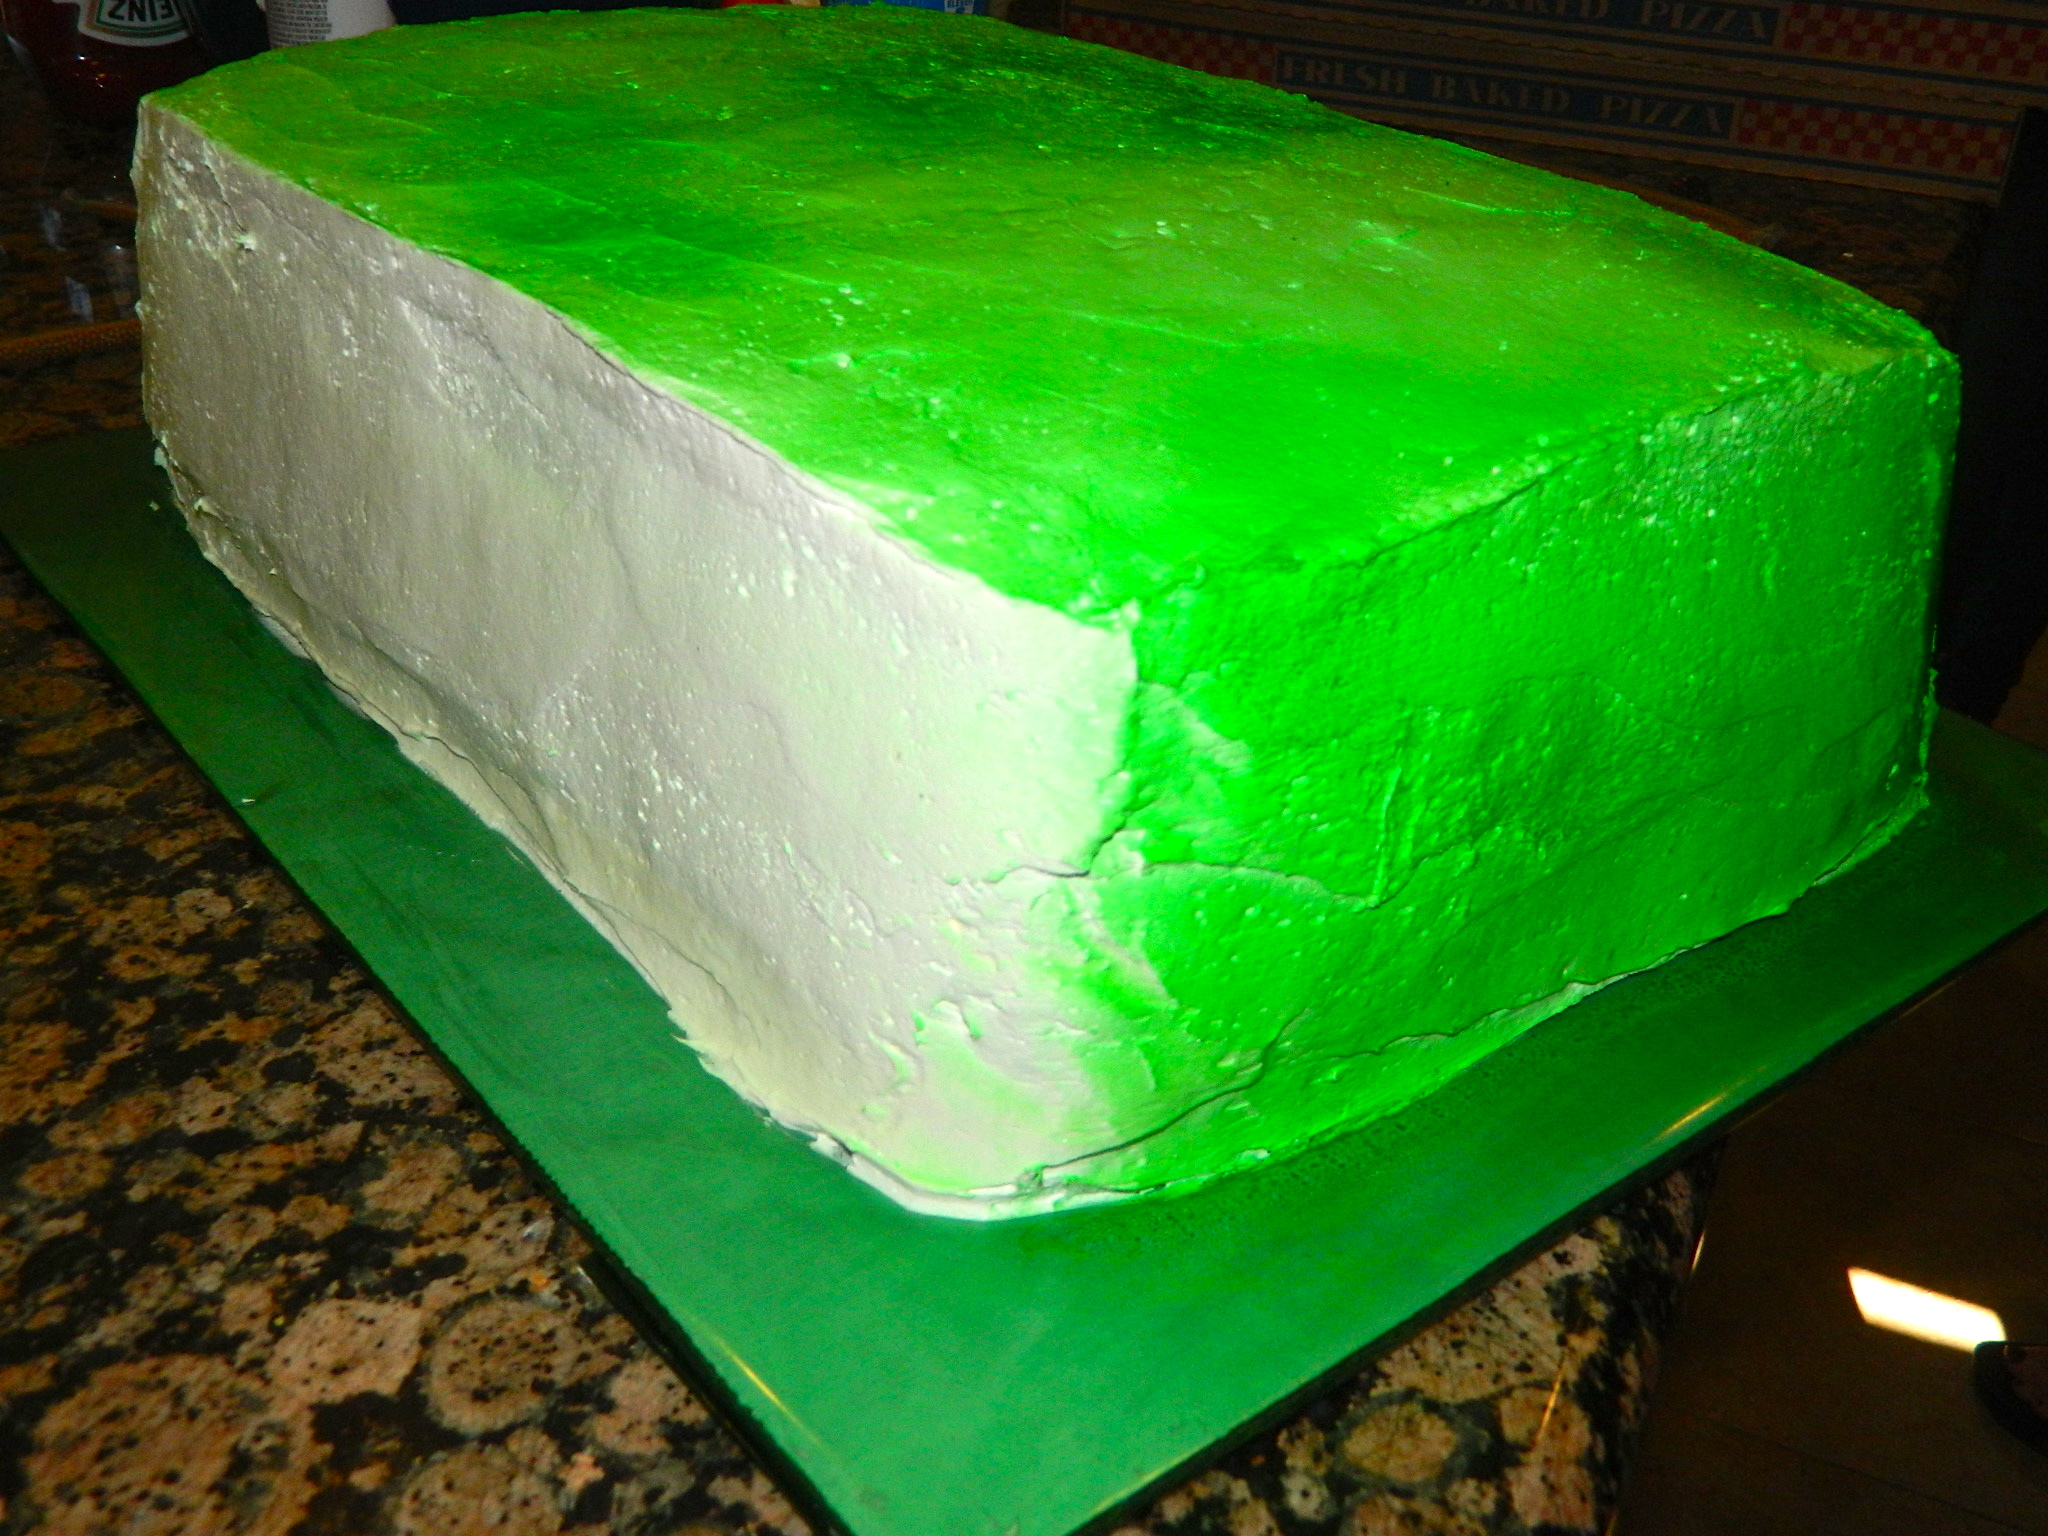
7) Spray the entire cake with the food color spray (you should do this in a well ventilated place because the aerosol gets in the air in the room and you way want to cover the surrounding areas with paper towels or newspaper because it will get on other surfaces, but it is easy to clean off)
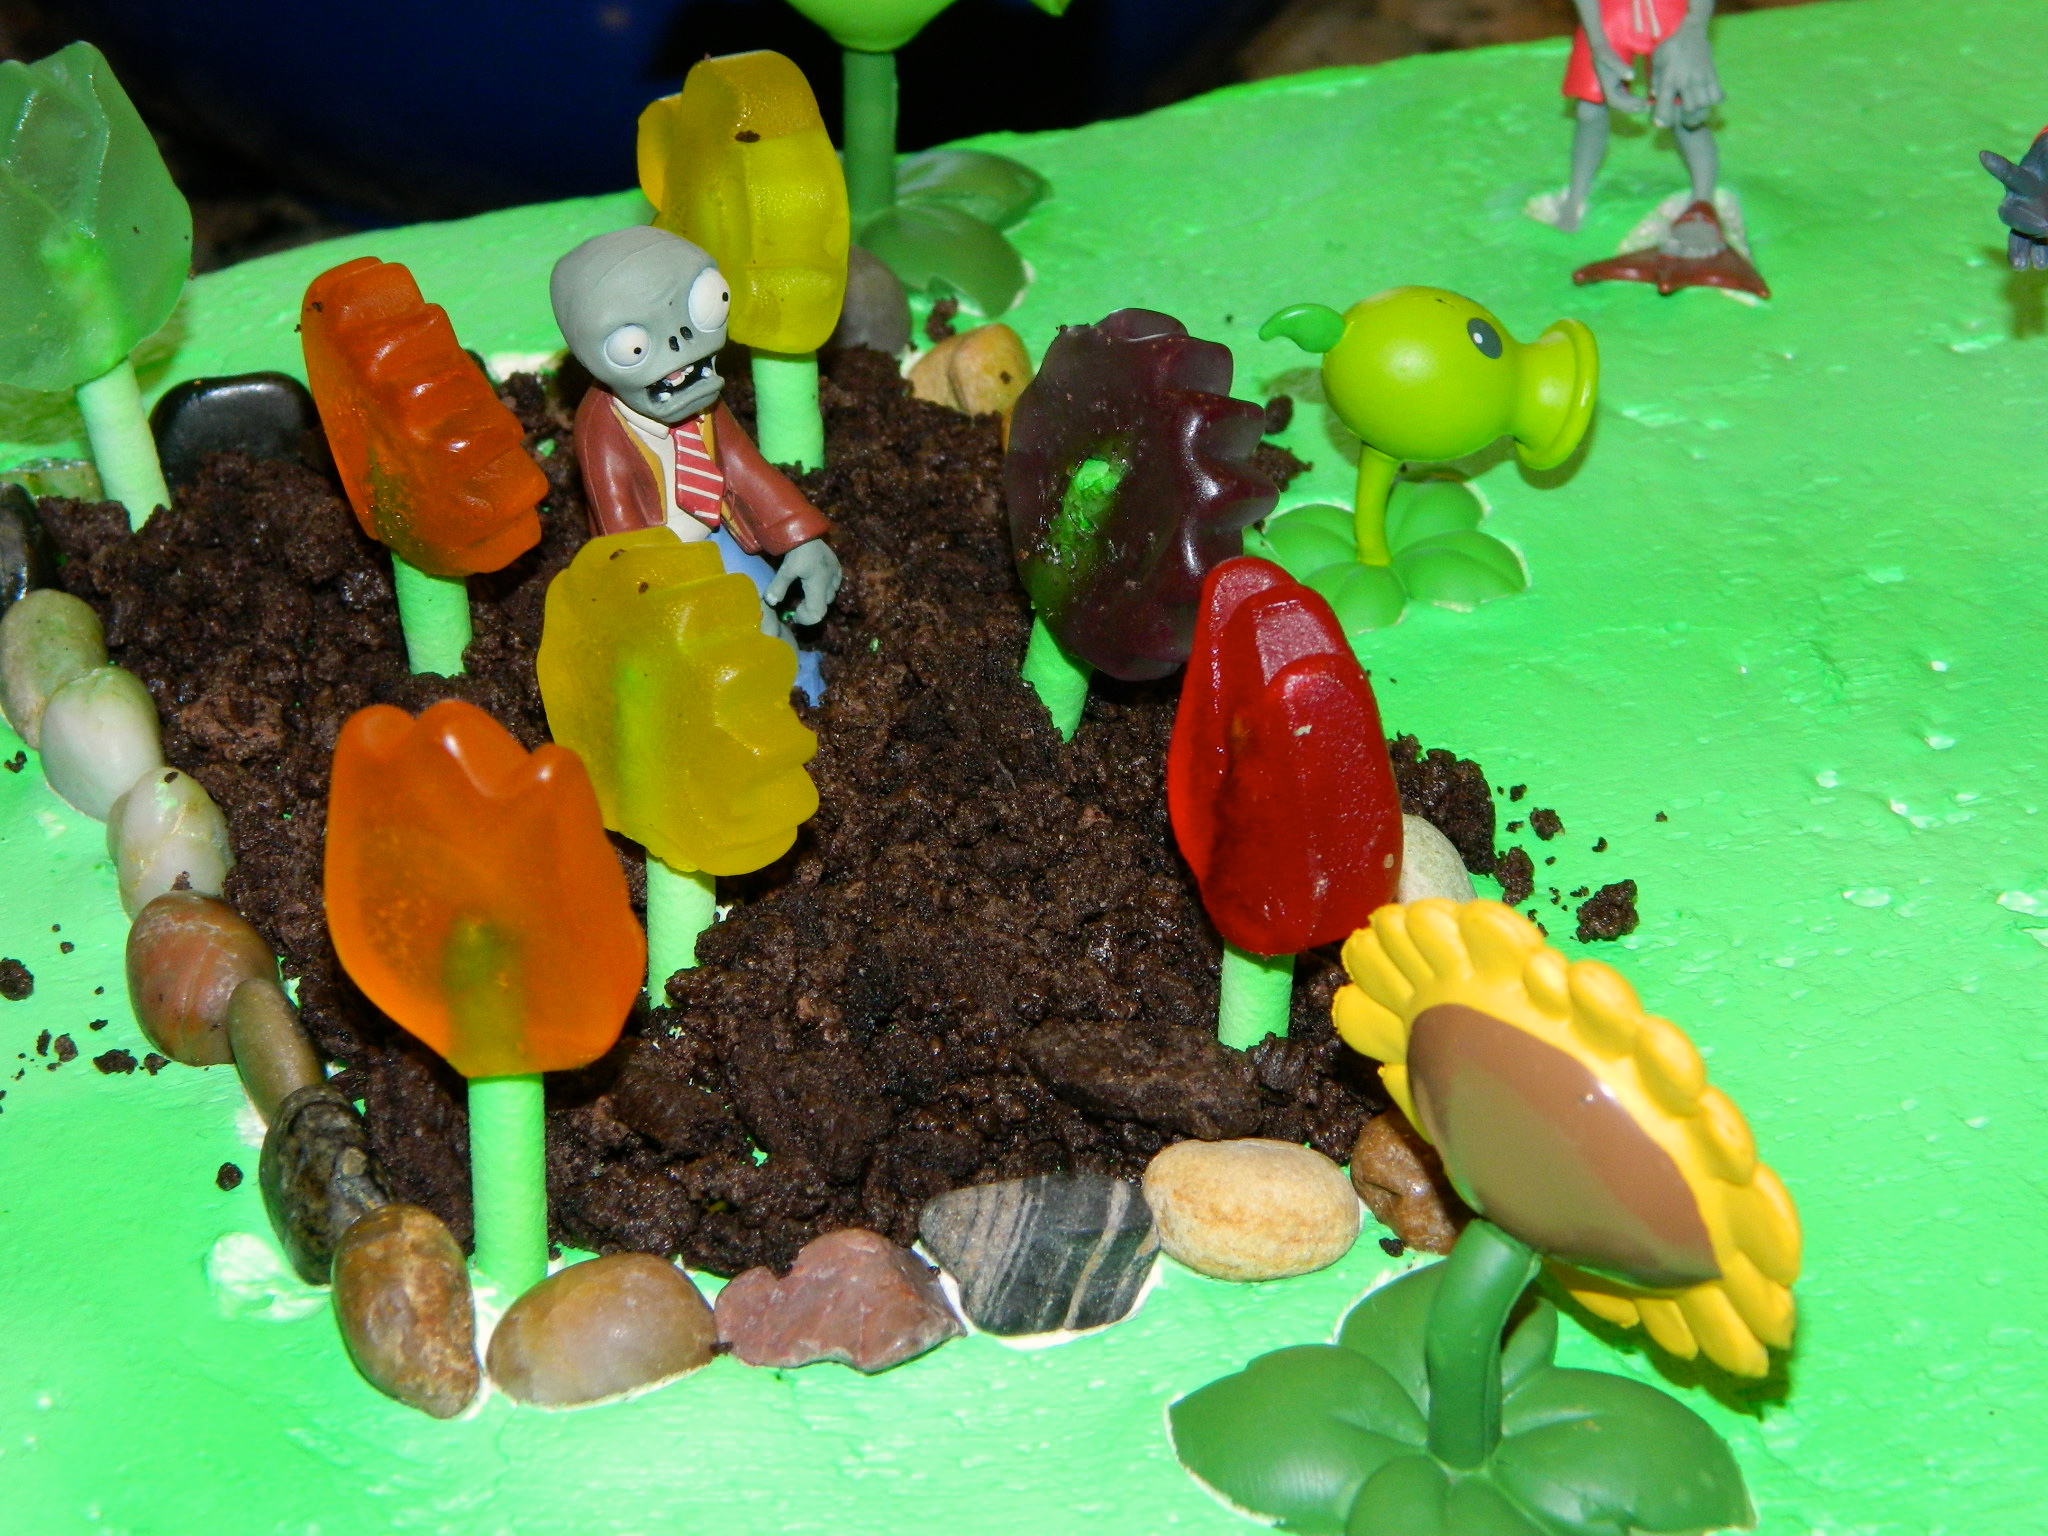
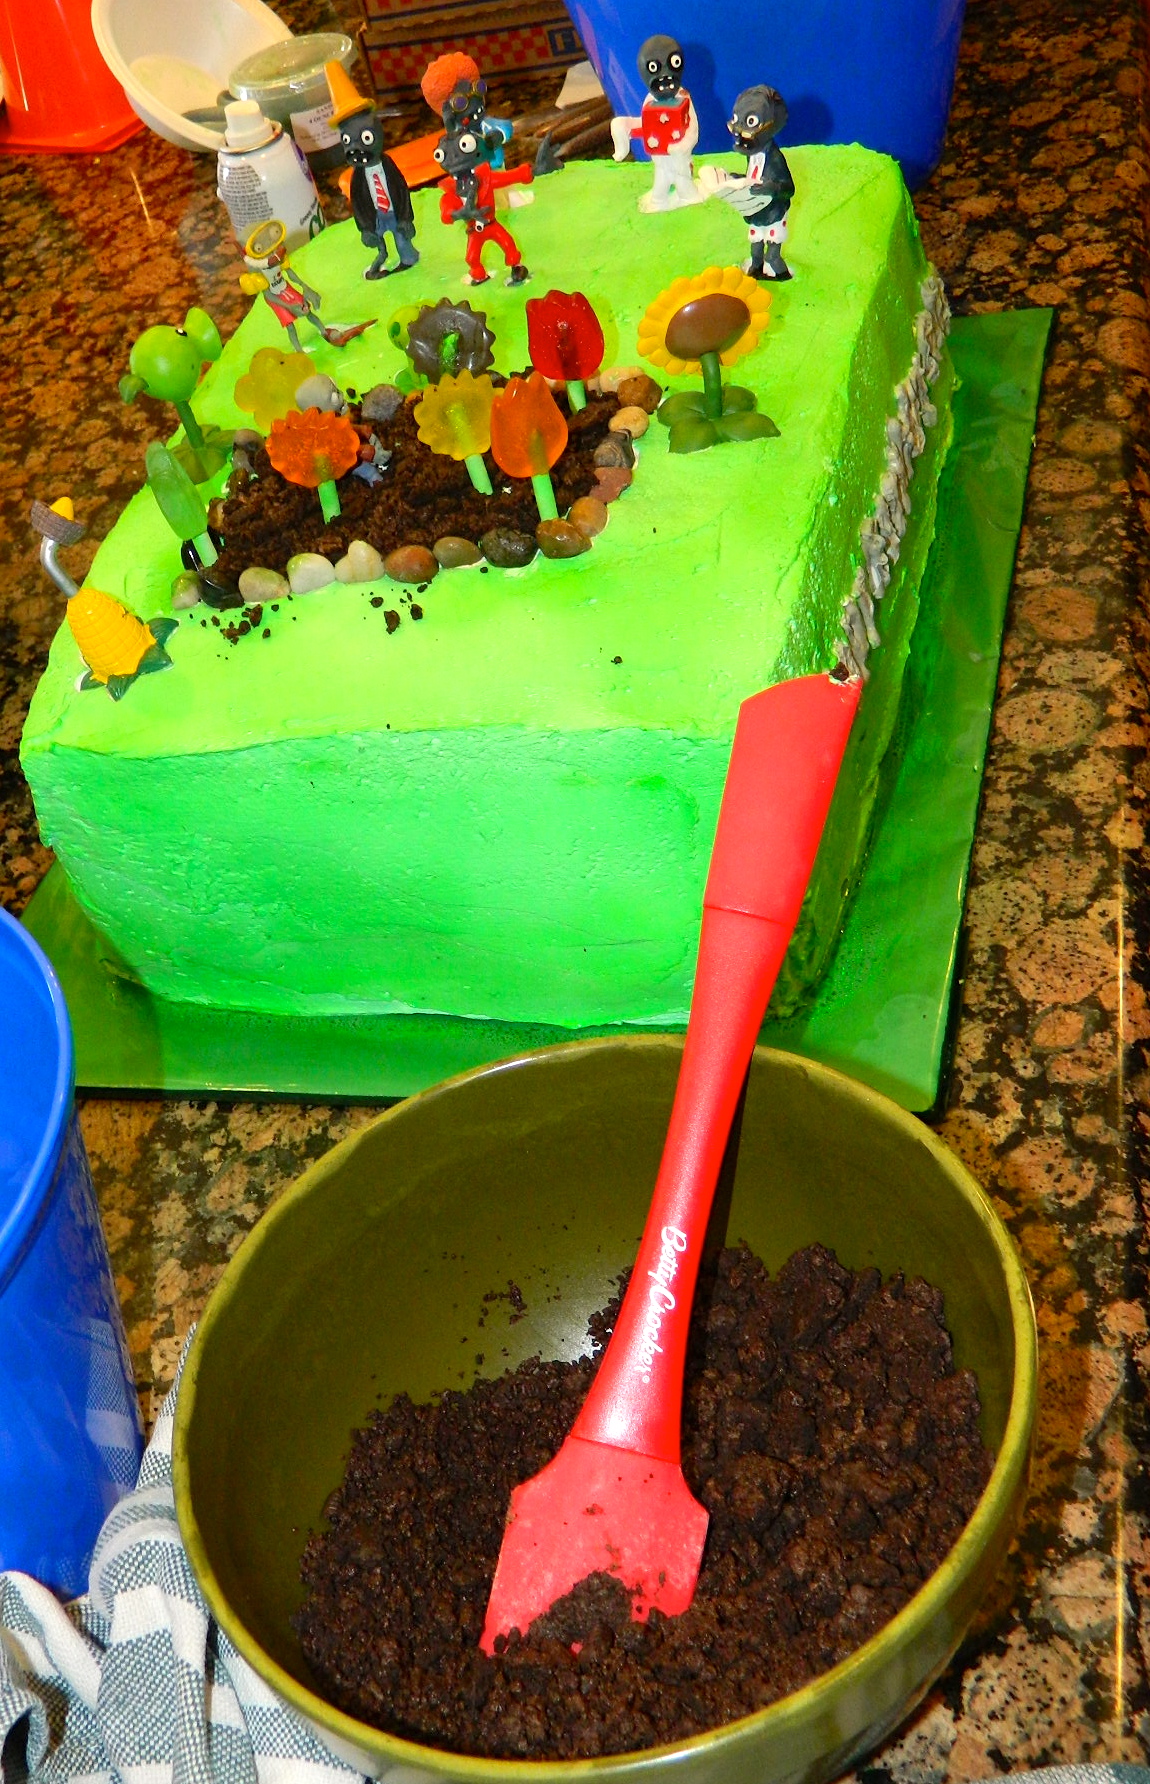
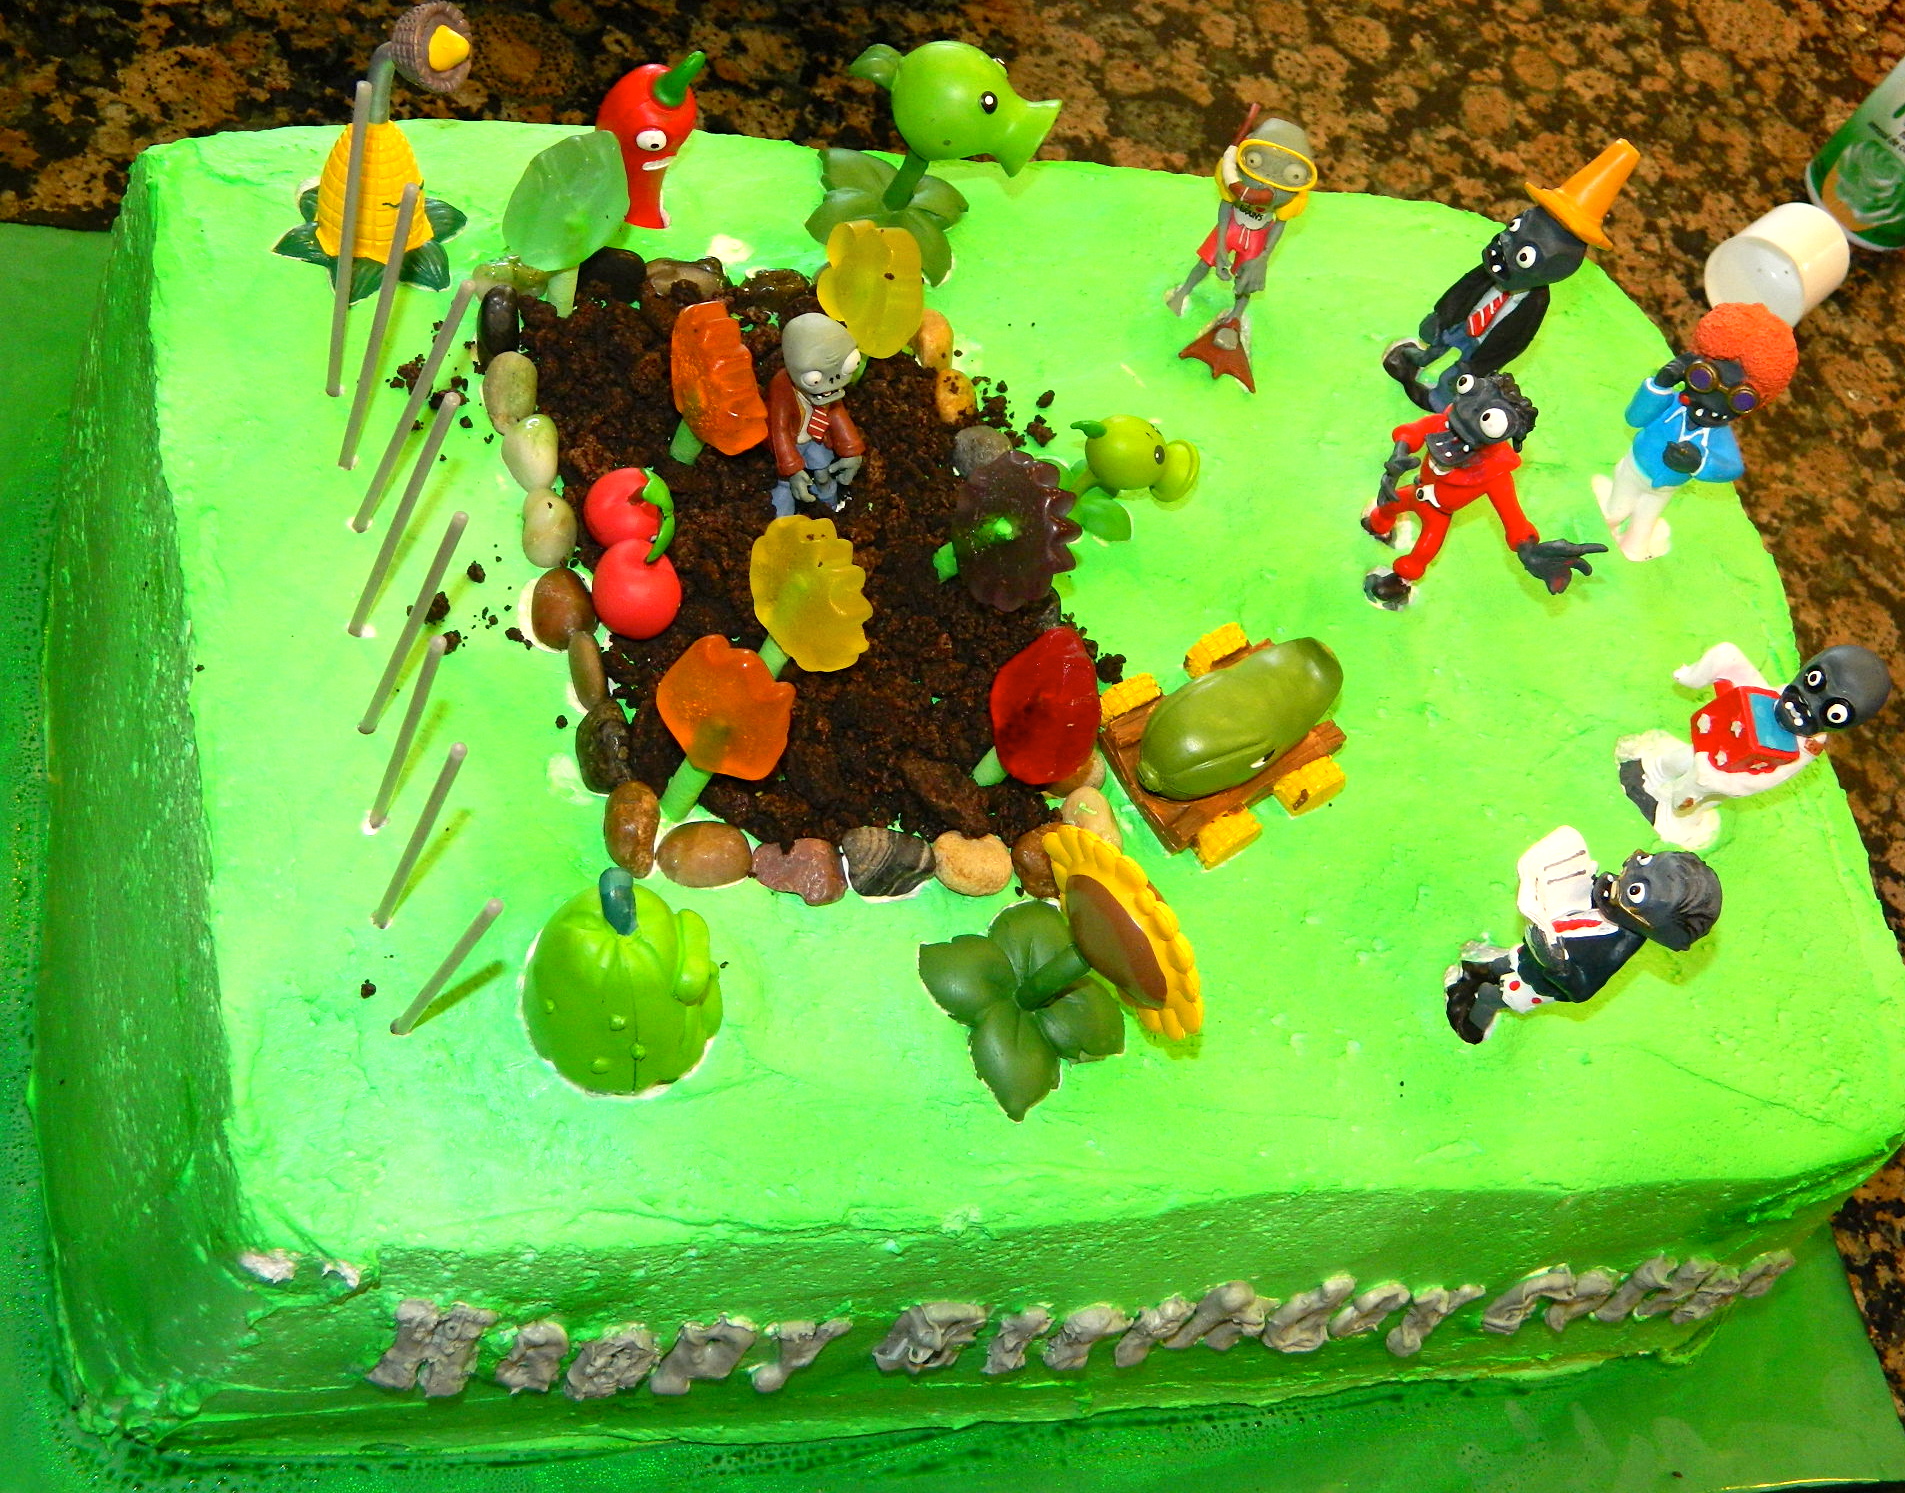
8) Mark the area you will decorate as the garden – make the border with the rocks and use the Oreo cookies as the dirt
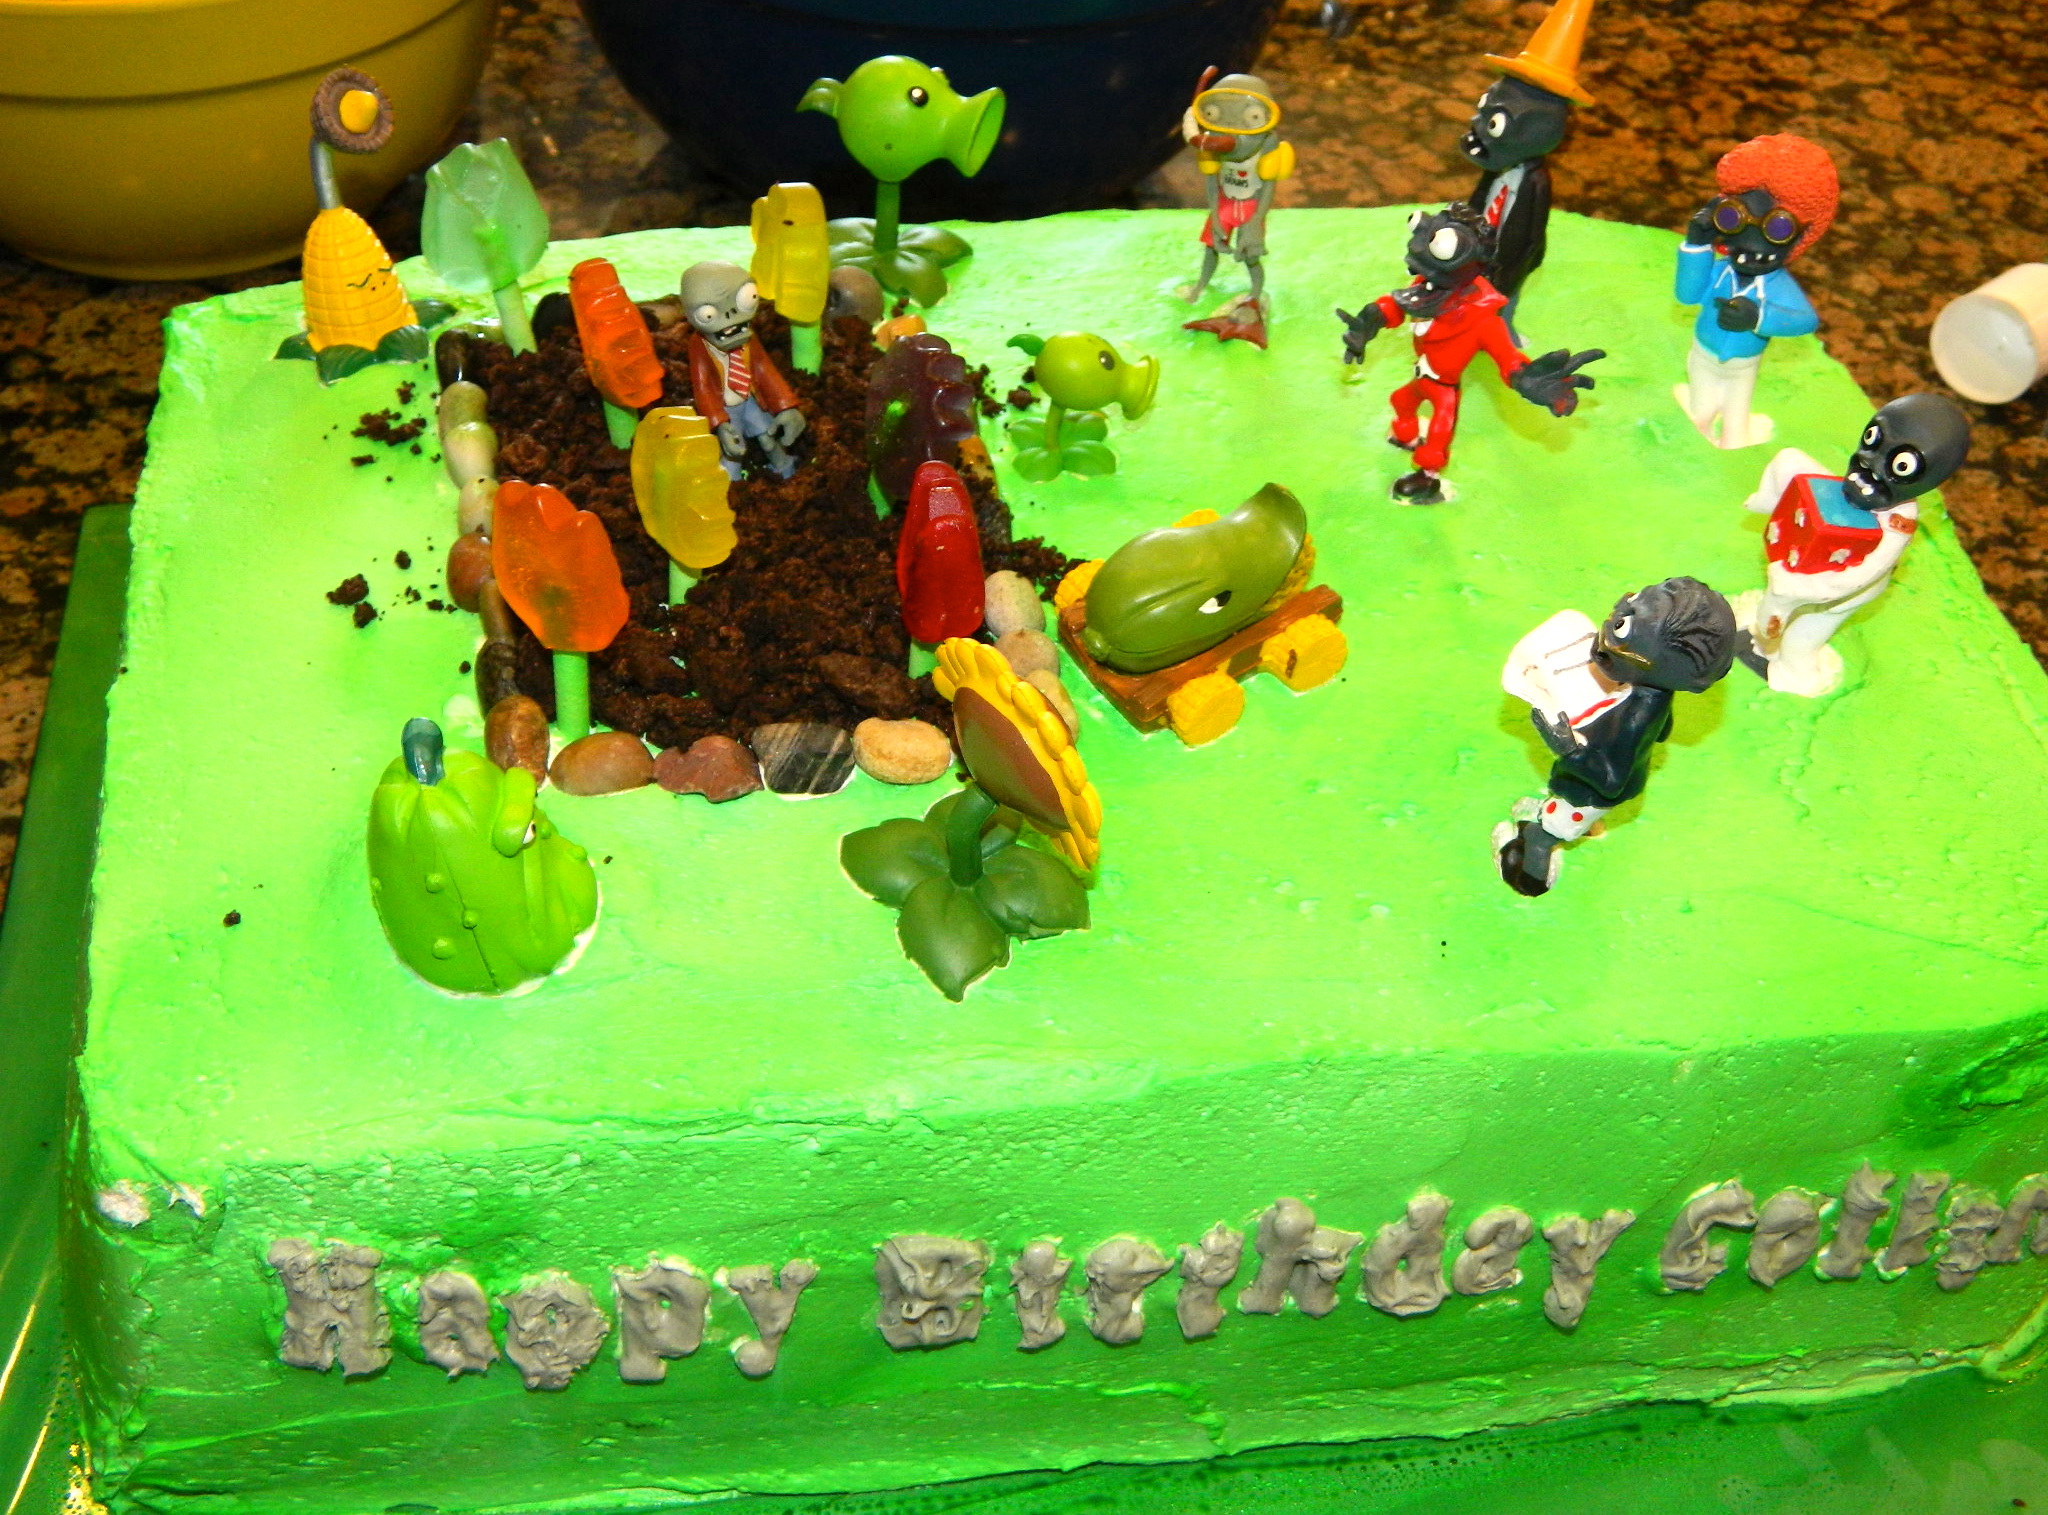
9) Add the lollipop sticks to the gummy flowers, then place the flower gummy candy and a few Zombie figurines in the garden area
10) Add the remaining Zombies vs Plants figurines on the cake
11) Add a few drops of food coloring of your choice to some of the whipping cream, a few drops of black were used here to make gray whipping cream
12) Fill the cake decorating bag with the colored whipping cream, and write Happy Birthday and child’s name on the side of the cake with whipping cream
13) Place the candles on the cake
13) Add the green sugar crystals as grass on the top surface of the cake and tilt a few of the Zombies so it looks like they are crawling
Approximate time: 2 hours
She also baked some unique & delicious cupcakes, I’ll post about those later this week.
Here’s how the final masterpiece was placed on the cake table, ready for guests to sing Happy Birthday to the birthday boy & make for a perfect picture moment! Wonderful family memories!
